Have you ever been in a situation where you have to experiment with UI and change colors frequent? Does the designer or PM asks for changes in font sizes and you don’t want to stuck in the loop of
while(!designer.isSatisfied) {
    doChanges()
    build()
    run()
    demo()
}
Imagine that you have something like the inspect element tools of a browser for iOS and an alternative to javascript to change the UI elements of the screen on the fly without having to rebuild the project.
Using LLDB expressions is the answer to this problem. LLDB is the default debugger in Xcode. With LLDB expressions, it is possible to modify the UI of a running app without changing a single line of code.
Basic commands
To be able to run an LLDB expression, you only have to press the pause button on tool bar. 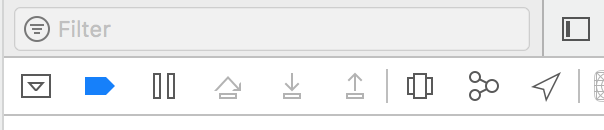
In the debugger area, on the bottom right corner, there is a command line prompt. There, the LLDB expressions are entered. You can start by typing help to see the range of the available commands. Also by running help <command>, some information about this command will be presented.
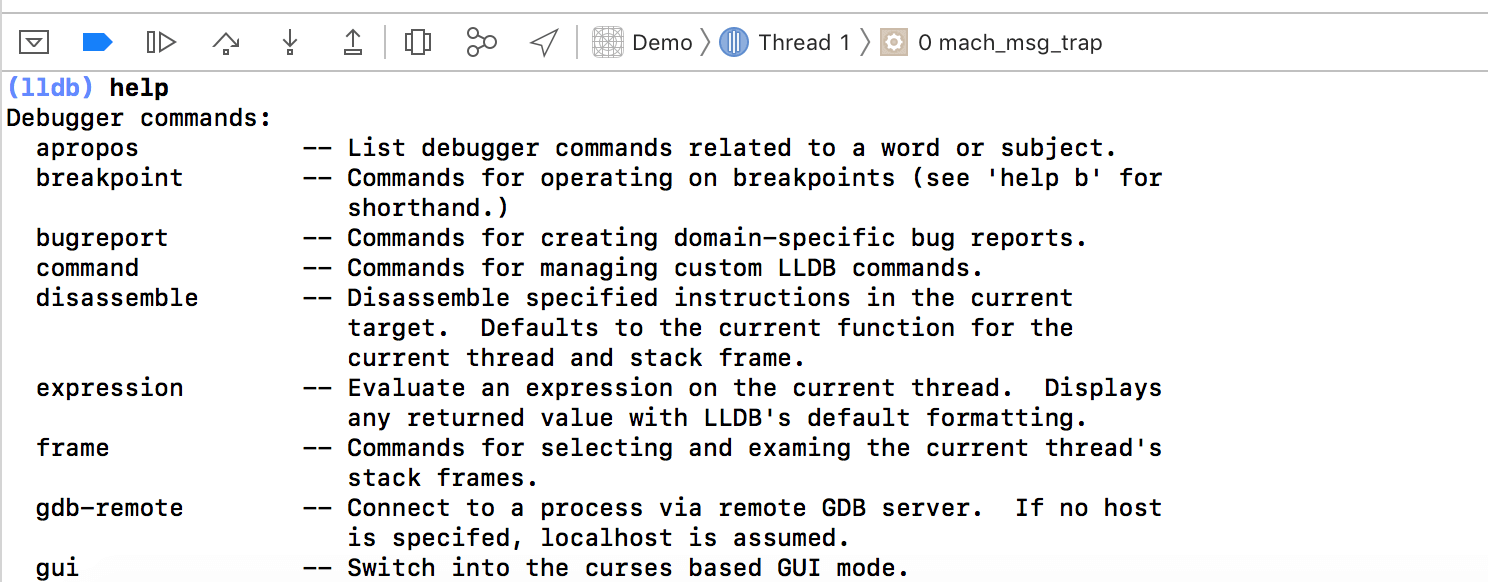
Hint: You can even type
help helpto see whathelpcommand does.
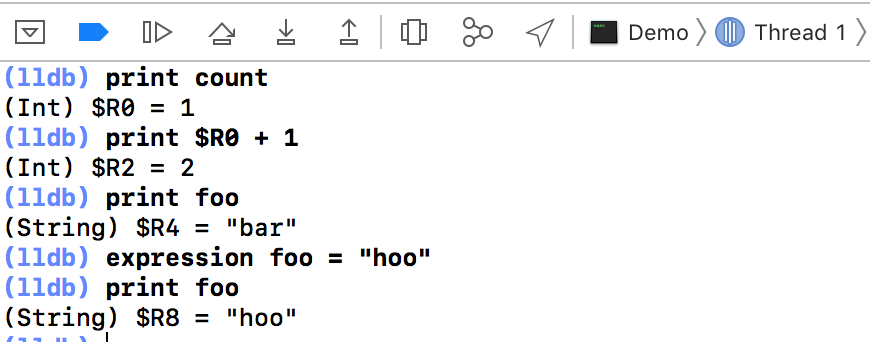
Another useful command is the command print which is simply printing values. You can use this command when using a breakpoint and you want to see the value of a variable. The result of printing, except from the value of the variable, has another value, like for example $R0. You can use this as a reference for the value. For example, you can try print $R0 + 1
One more command is the expression, which can be use to modify (and not only) some value. If you have a variable var foo = "bar", and you have a breakpoint after this command, you can modify the value by running expression foo = "hoo".
Hint: You can also create temporal variable for debugging by running
expression int $variable = 1. The variables are defined in the same way they are defined in C.
Hint:
$is used in the name of the variable in order to be available in subsequent expressions. Otherwise, it would be available only for the expression it is defined.
Besides than, expression supports the use of many flags too. You can find more information about the expression command and the flags by typing help expression. Actually, print command is an abbreviation for expression --. The use of -- signifies the end of flags and the beginning of input, so the commands print 1 and expression -- 1 are equivalent.
Hint:
pandecan be used as aliases forexpressioncommands respectively.
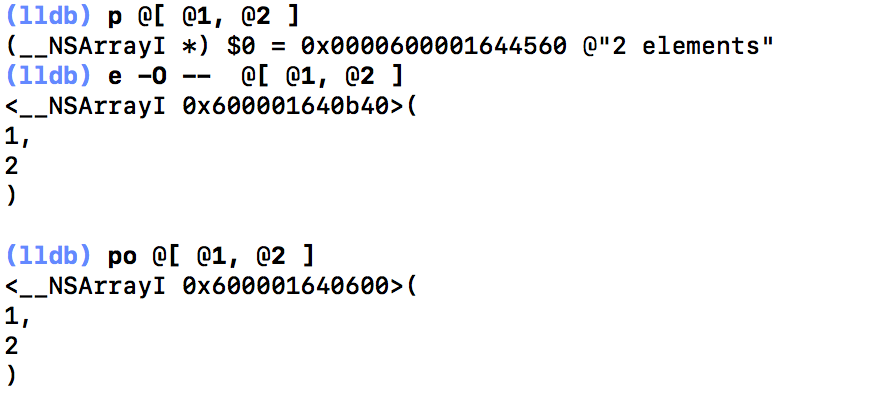
A disadvantage of the print command is when printing objects. For example, p @[ @1, @2 ] will result in (__NSArrayI *) $0 = 0x0000600001644560 @"2 elements", which doesn’t give a lot of information about the object itself.
expressioncommand comes to our rescue and with the use of the flag -O, prints the result as an object. So, for the above mentioned example e -O -- @[ @1, @2 ] will result in
<__NSArrayI 0x600001640b40>(
1,
2
)
Don’t worry though, you don’t have to type e -O -- every time you have to print an object, as it also comes with an alias po(as of print object), so po @[ @1, @2 ] can be used instead.
Knowing this, we can proceed to more advanced usage and combination of these commands to reach our goal.
Advanced commands
As in the previous example, po command can be used to print Objective-C expressions, thus it can be used to print all the information about the view hierarchy on a running application. By running po [[[UIApplication sharedApplication] keyWindow] recursiveDescription], you can see all the view in the view hierarchy along with their memory address and their layout.

Then, by using the expression we can create a variable from the memory address. By running the command e id $myButton = (id)0x7fb3e3608520, the button is assign to the variable $myButton.
Next, we want to modify the color of the button, again by using the expression command. e (void)[$myButton setBackgroundColor:[UIColor blueColor]] will do the job.
Last but not least, we have to refresh the UI to be able to see the change. This can be done by running e (void)[CATransaction flush].

And voilà, that’s it, the UIButton now has blue background!! ![]()
| Initial button | Final Button |
|---|---|
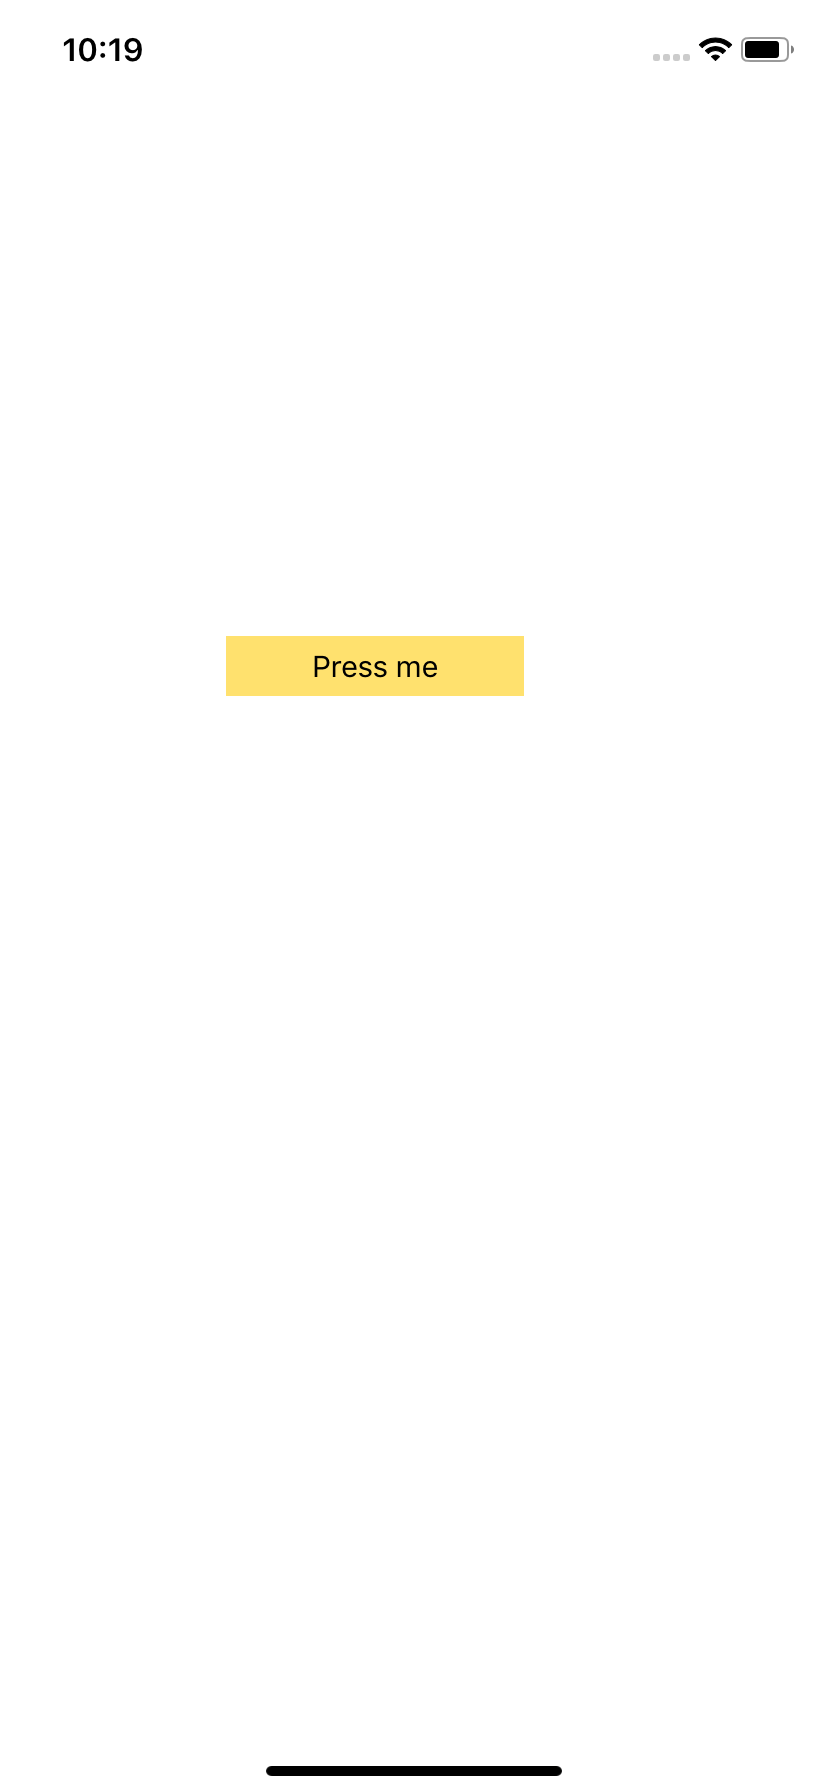 | 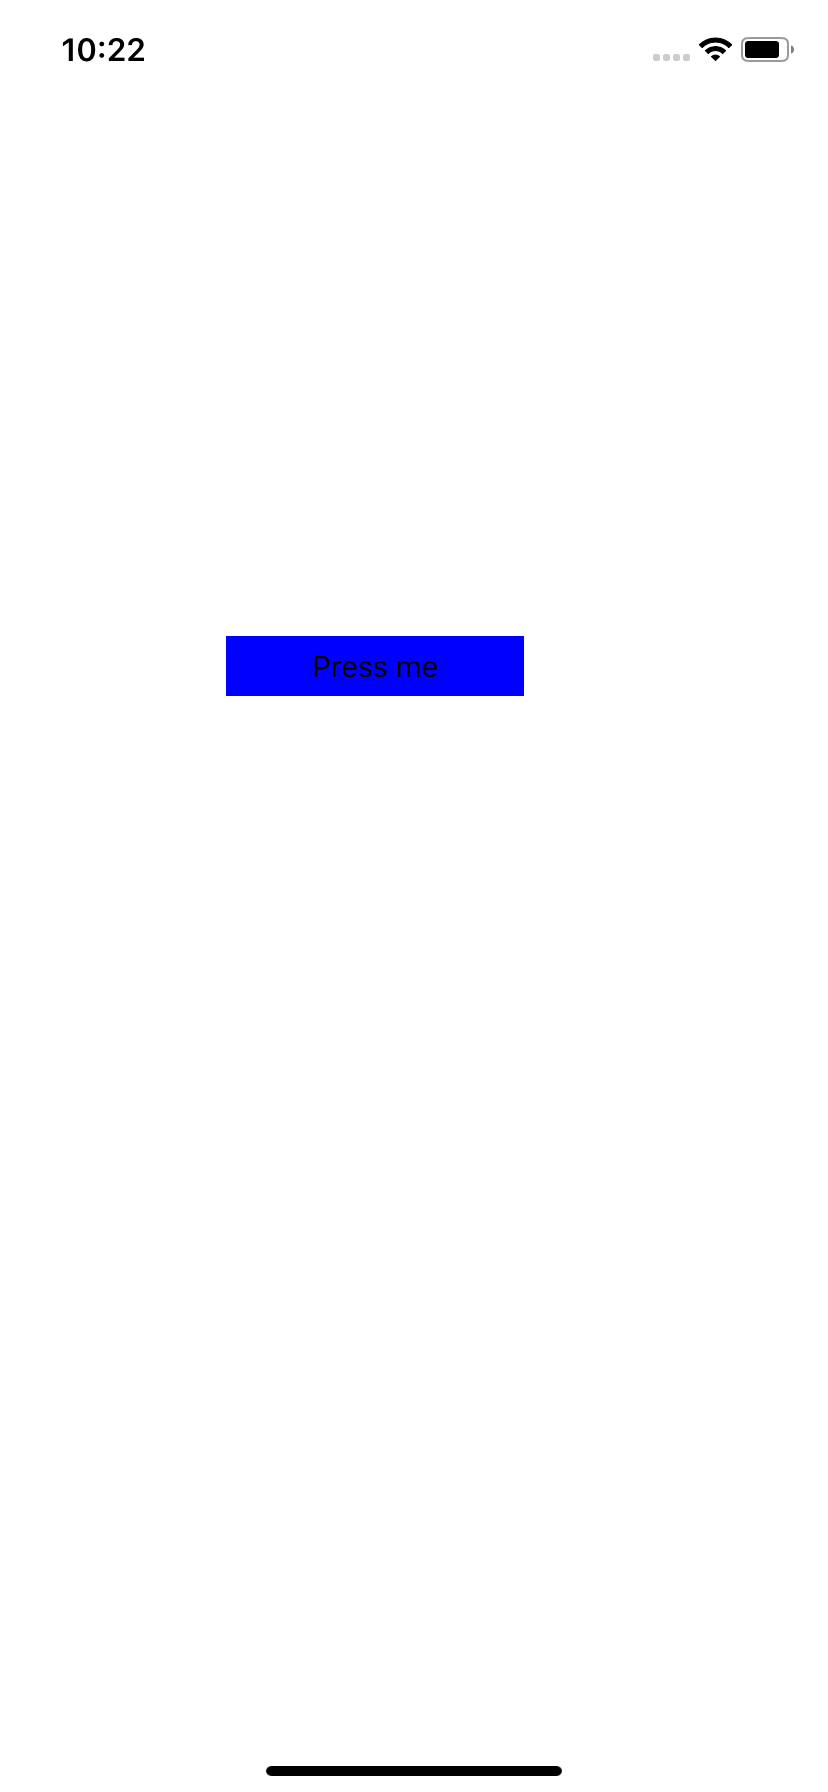 |
Conclusion
So far, so good, our goal is reached and we can call it a day. But this post only scratches the surface of LLDB capabilities and more posts are to come on this topic.
Using lldb expressions, while working on UI changes, can result in many benefits for the app, like shorter feedback loop, which increases the possibilities for a better product and user experience as it is easier for the developer to experiment with different variation of the UI.
Furthermore, it can result in higher efficiency for the developer because the builds will be less frequent and thus less idle time will be spent waiting to build the project.
Closing, and as it is my first actual post, I choose the following quote. See you soon!!
Do the difficult things while they are easy and do the great things while they are small. A journey of a thousand miles must begin with a single step.
— Lao Tzu
