A recent discussion with a colleague about the use of the Xcode shortcuts is the reason behind this blog post.
The use of keyboard shortcuts can result in greater productivity because it enables a developer to navigate, perform actions and edit code more efficiently compared to using the mouse and the navigation menu.
Apart from this, writing this blog post is also a great opportunity for me to learn more about Xcode shortcuts.
A list of the “default” Xcode shortcuts, as listed by Apple, can be found here
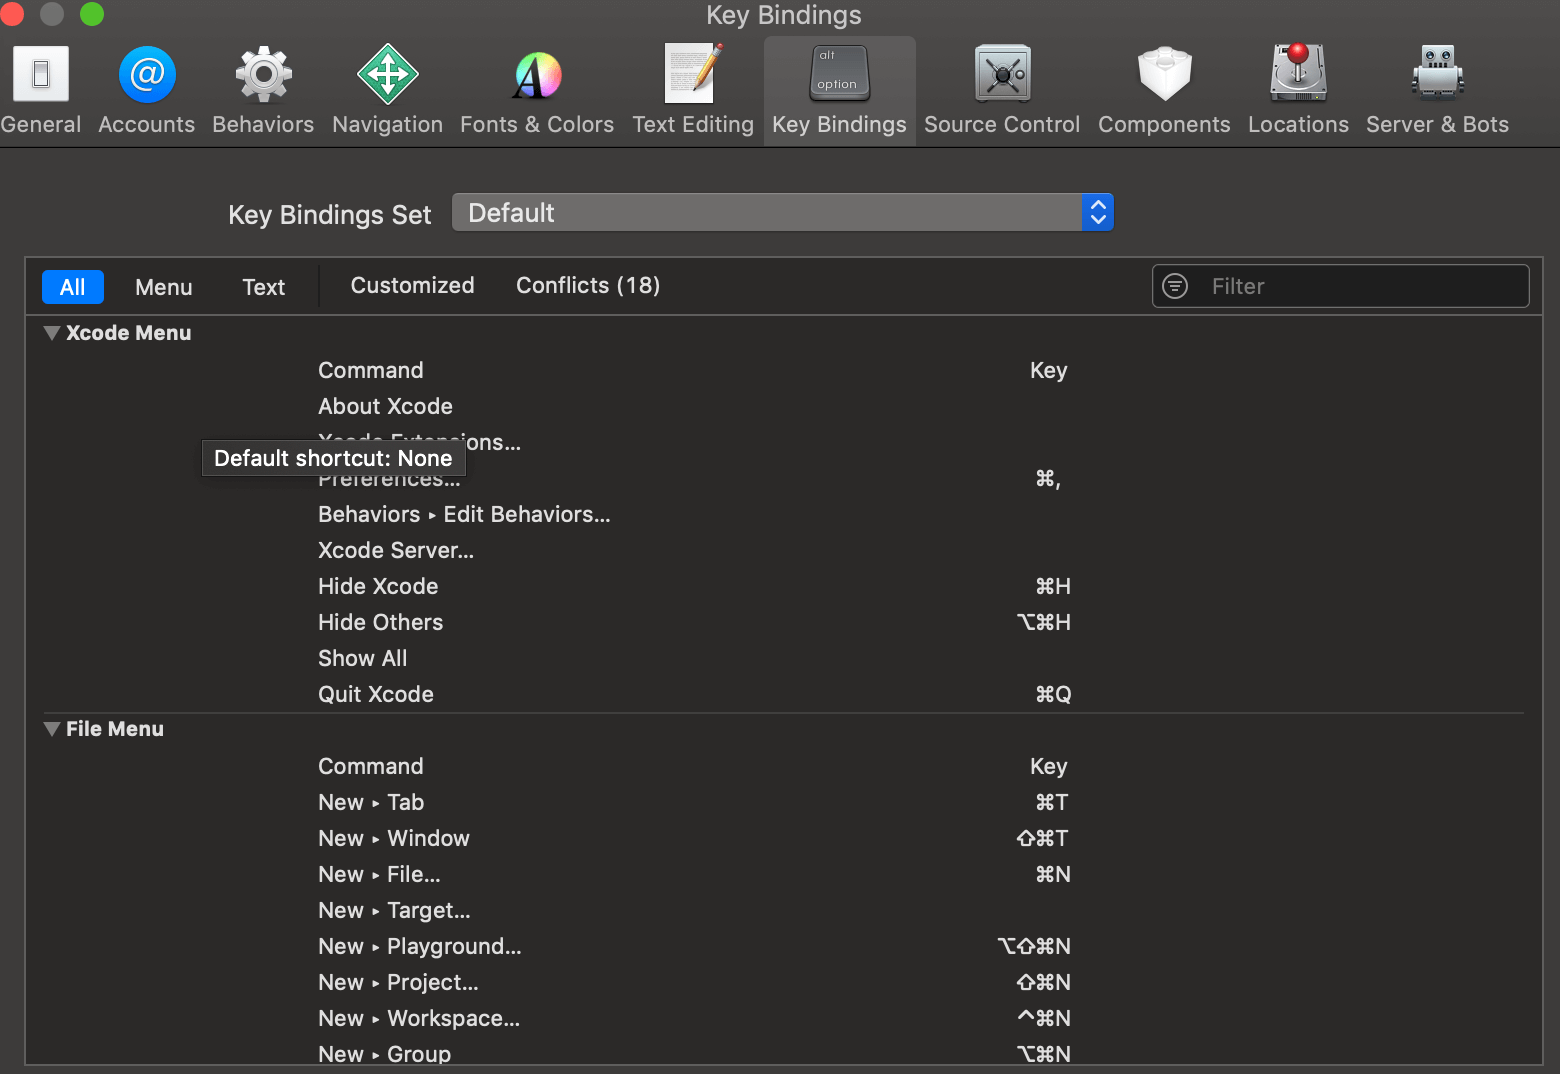
Also this list can be found in Xcode by following Xcode > Preferences (or better ⌘ + ,) > Key bindings, where you can also edit or add new shortcuts to the commands not yet set.
Key mapping
As some may be unaware and since more often than not Apple’s keyboards don’t use the symbols, the mapping of the keys to the symbols is the following:
-
⌃(Control) -
⌥(Option) -
⇧(Shift) -
⌘(Command)
Those symbols will be later used in conjunction with a primary key to form the shortcuts.
Some examples of useful shortcuts
A list of commands that I primarily use are listed below:
-
Go to line (
⌘+L)
As a result, an input text will pop up, and there you can add the number of the line you want to move to.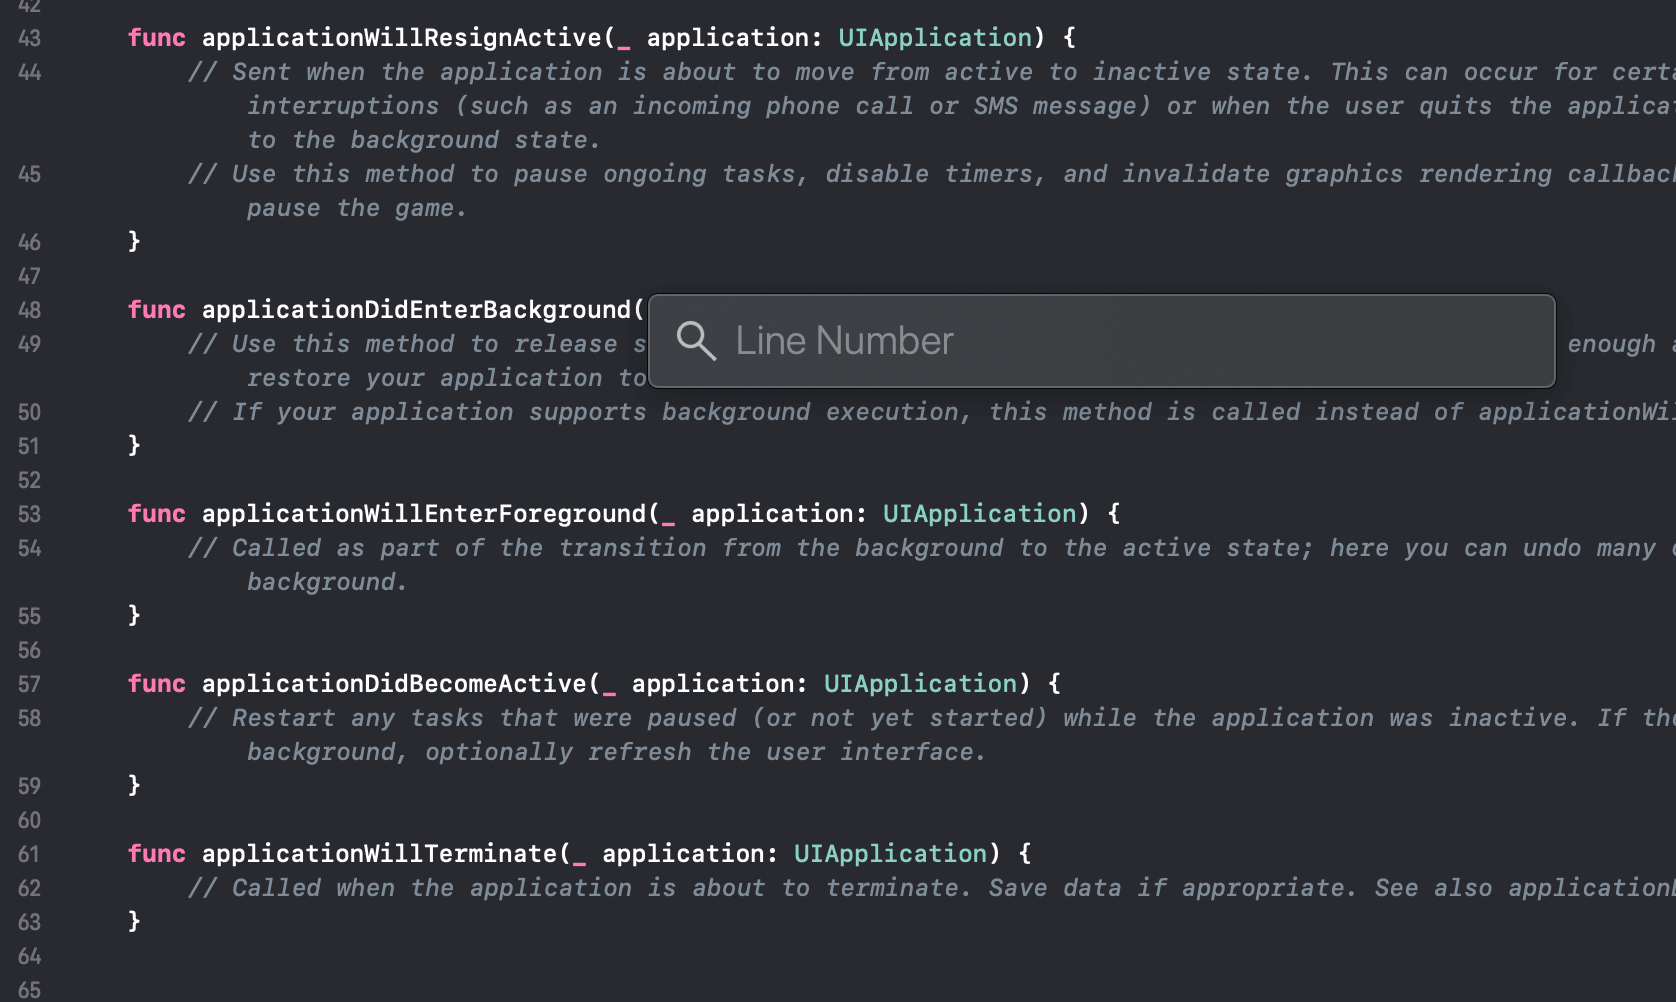
-
Add breakpoint (
⌘+\)
A breakpoint will be added to the line. To activate/deactivate the debugger use⌘+Y. -
Fold method (
⇧+⌥+⌘+←)
To unfold method (⇧+⌥+⌘+→) -
Build (
⌘+B)
Also, to clean (⇧+⌘+K) -
Find call hierarchy (
⌃+⇧+⌘+H)
When on a function name, you can press the above-mentioned key combination to find the callers of the function. -
Edit all in scope (
⌃+⌘+E)
It can be useful in case of renaming a variable or function. -
Jump to Definition (
⌃+⌘+J)
This can be used if you want to jump to the definition of the method. Also, use⌃+⌘+←to go back to the invoker again if it’s in a different file. -
Move focus to editor (
⌘+J)
To move the focus/cursor to the editor area. A new window will open and you can select if you want to move to the editor, to add to a new assistant editor or to move to an existing one.
-
Open is Assistant Editor (
⌥+⌘+,)
This can be used, if you are in the navigation controller and you want to open a file to the assistant editor. -
Move focus to next Area (
⌥+⌘+`)
It can be used for scenarios when you are in the main editor and you want to move to the assistant editor. Also, (⌥+⌘+⇧+`) can be used to move back. -
Center selection (
⌃+L)
This can be used to move the screen so the selected area is in the center of the screen.
These are only a subset of the available commands that I found really useful. Of course there are plenty more and I am trying to always enrich my list, so feel free to share with me on X which one you are using.
Custom key bindings
Apart from the already defined key bindings, there is a way to add custom ones. Features like duplication of a line and moving X numbers of lines up or down are some of the key bindings that Xcode doesn’t support.
To add a custom key binding someone has to follow the next steps:
- Open
/Applications/Xcode.app/Contents/Frameworks/IDEKit.framework/Resources/IDETextKeyBindingSet.plist - Edit file and add something like the following inside the outer
<dict>:<key>Custom Key Bindings</key> <dict> <key>Move 5 lines down</key> <string>moveDown:, moveDown:, moveDown:, moveDown:, moveDown:</string> <key>Move 5 lines up</key> <string>moveUp:, moveUp:, moveUp:, moveUp:, moveUp:</string> <key>Duplicate current line</key> <string>selectLine:, copy:, moveToBeginningOfLine:, paste:, moveToEndOfLine:</string> </dict> - Restart Xcode
- Go to Xcode > Preferences (or better
⌘+,) > Key bindings - Find the key bindings
- Assign a keyboard shortcut and
- You can try the new shortcuts


Conclusion
I hope you find those shortcuts useful and start using them on your daily routine to save some time. Furthermore, being able to add custom bindings can prove to be really useful especially on cases that are not currently supported by Xcode and are quite common, like quickly moving up and down on a file.
Thanks for reading! If you found this post useful, consider buying me a coffee to support the blog. For questions or comments, feel free to reach out on X!
Until next time!
