Hi, time has come to write something about Kotlin Multiplatform Project and more specifically how to setup a project with an iOS app, an Android app and a shared library. I have recently started playing around with Kotlin Multiplatform Project, and it seems quite an interesting project to me. Thus, I will try to document my steps and learning in a series of posts, starting from this one.
Kotlin Multiplatform Project(or KMP from now on) is an experimental feature that allows us to write code in Kotlin and compile/transpile this codebase to multiple platforms including JVM, Android, iOS, Javascript, Desktop apps, etc.
Thanks to Kotlin native(or K/N), we are able to compile Kotlin code to native binaries, including but not restricted to iOS, meaning that we can write some code in Kotlin which can be used on both the iOS and Android app. Doesn’t it sound interesting?
Quite often while developing an app, we end up in scenarios where we have to write a lot of duplicate or similar code between the iOS and Android app. Usually, it’s related to network requests, the transformation of the data fetched so that they can populate views and/or something else. Generally, it’s the so-called business logic.
And that is the problem that KMP is there to solve. Write this business logic once and share in with multiple targets. And despite the fact that I am focusing more on sharing code between iOS and Android, it doesn’t mean that you are limited to this. In contrast, you can share code between Server and Client, iOS, Android, Javascript, Desktop (macOS, windows, linux), webassembly etc.
Be aware, though, that KMP is still an experimental feature and as per Kotlin Reference Page
Multiplatform projects are an experimental feature in Kotlin 1.2 and 1.3.
All of the language and tooling features described in this document are subject to change in future Kotlin versions.
So, be careful and think twice before taking the decision to use it on a real project.
Let’s try to create our first project!!
How to create a project with IntelliJ
For this tutorial, I am using IntelliJ IDEA CE 2019.1.3 to create the initial project, Android Studio 3.4.2 and Xcode 10.2.1. Apart from those, I am using Kotlin 1.3.41 and Gradle 5.4.1
To create the initial project:
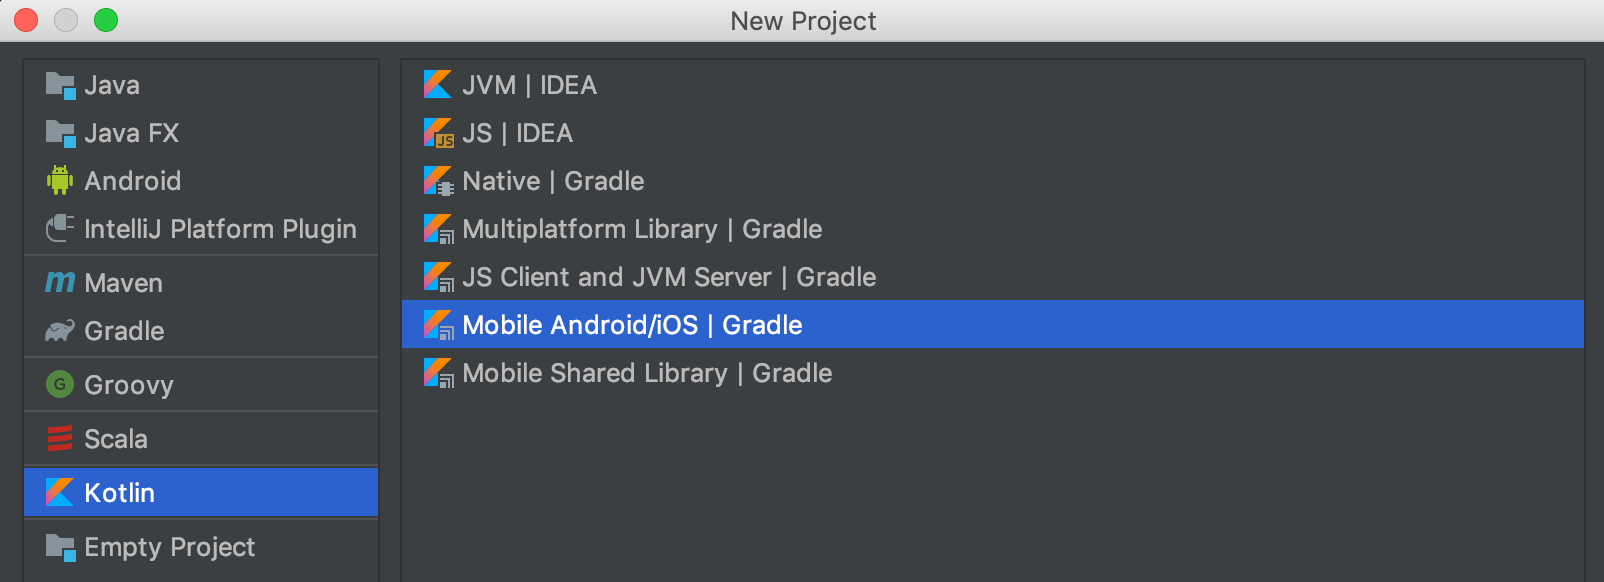
- Head to IntelliJ and create a new project.
- From the option on the left pane, select
Kotlin, thenMobile Android/iOS | Gradlefrom the main pane and pressNext - In the next screen, make sure to have checked the
Use default Gradle wrapperand pressNext - Then choose a name for your project and press
Next.
The project is created and it will try to sync Gradle and build. But it will fail with an error saying
The SDK directory '<projectDir>/PleaseSpecifyAndroidSdkPathHere' does not exist.

Please fix the 'sdk.dir' property in the local.properties file.
To fix this issue, edit local.properties which is located on the root directory of the project and add the SDK path (usually located at /Users/<user>/Library/Android/sdk)
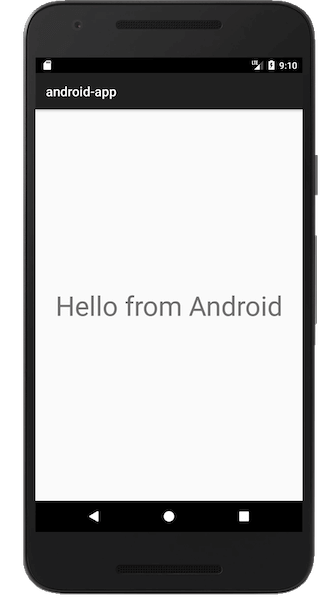
Now, you can head to Android Studio and run the Android app!! If everything is correct, the app will be built successfully and you will see a screen with a message Hello from Android.
Time to try the iOS app. Let’s open the iosApp.xcodeproj with Xcode and try to build the app on a Simulator.
It will fail with an error:
.
.
.
/../gradlew: No such file or directory
Command PhaseScriptExecution failed with a nonzero exit code
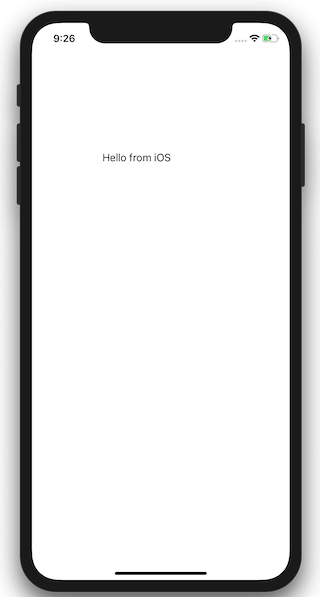
To fix this issue, run gradle wrapper on the project root directory, wait until it is finished and then try to build the app again. You should be able to run the app and you will see a screen with a message Hello from iOS.
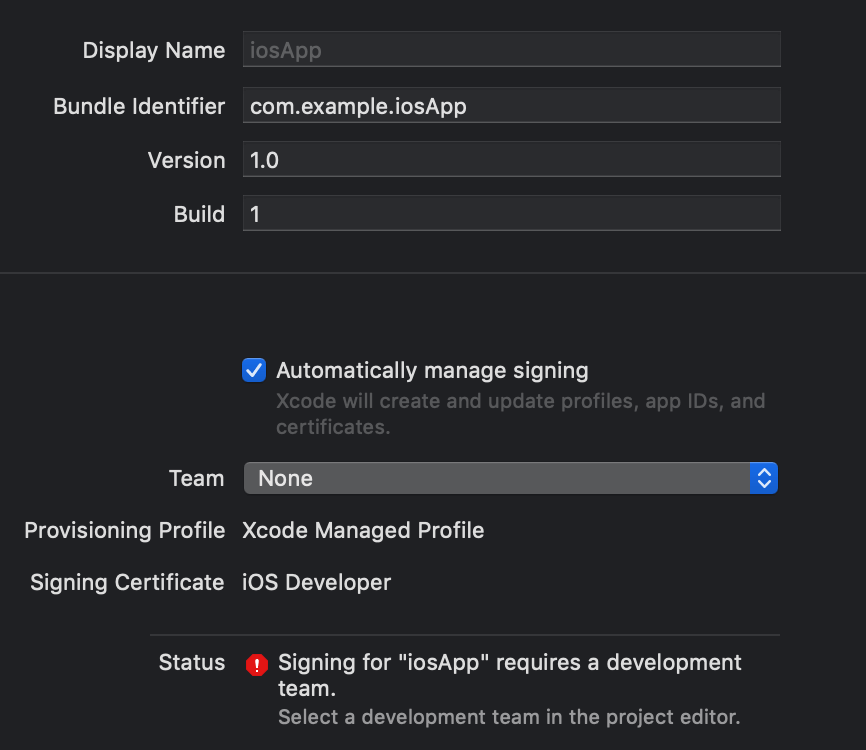
But, we are not done yet. To run the app on a real iOS device, the app should be signed. Therefore, if you try to run the project on a real iOS device, you will get a error with message: Signing for "iosApp" requires a development team. Select a development team in the project editor. (in target 'iosApp')
To fix this, go to the project Editor and change the Bundle Identifier and select your Personal Team for the signing.
After applying this fix, when you try to build the app again, a new error will appear, with a message:
Undefined symbols for architecture arm64:
  "_OBJC_CLASS_$_AppProxy", referenced from:
      objc-class-ref in ViewController.o
ld: symbol(s) not found for architecture arm64
clang: error: linker command failed with exit code 1 (use -v to see invocation)
The root cause of this issue, can be easily found if you navigate to app/build.gradle. Inside the kotlin block, you will notice a comment like Switch here to iosArm64 (or iosArm32) to build library for iPhone device.
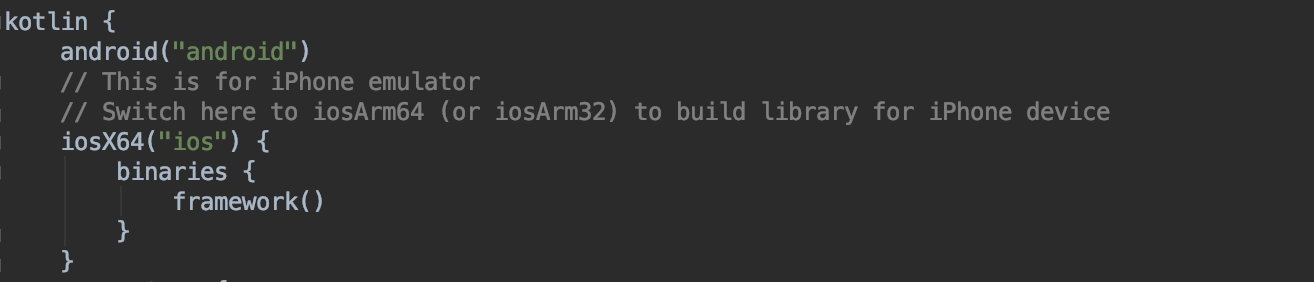
The existing code is suitable only for the simulator, so if you want to run on an actual device, you have to change iosX64 to iosArm64. Ideally, we would like to be able to run the app, both on Simulator and on an actual device without having to change that every time.
To do that, remove the whole iosX64("ios") block and instead put the following script:
targets {
    final def iOSTarget = System.getenv('SDK_NAME')?.startsWith("iphoneos") \
                          ? presets.iosArm64 : presets.iosX64

    fromPreset(iOSTarget, 'ios') {
        binaries {
            framework()
        }
    }
}
Now, try to build the app again. This time, the iOS app will be successfully built both on actual devices and simulators!!!
Conclusion
And this is it!! If you are interested, you can find this project on GitHub. This project, which is created by following these steps, will act as the base for my next posts on KMP. In the next post, I will try to delve deeper on the structure on the initial project and make some tweaks here and there.
Thanks for reading! If you found this post useful, consider buying me a coffee to support the blog. For questions or comments, feel free to reach out on X!
Until next time!
