This article is part of a series on how to setup and integrate Firebase Remote Config and A/B testing on an iOS app. To illustrate and describe the process, I will use a somewhat easy but potentially useful example; this of a login’s screen aesthetics. The main focus of this particular article is on how to setup Firebase Remote Config and A/B testing on Firebase Console, so that you can later use them on the app. Let’s start with what is Firebase Remote Config
Remote Config
Remote Config is a Firebase feature that enables us to configure the app from the Firebase console. That means that this configuration, and therefore the app, can be changed on the fly without having to make any update on the app or go through the whole release process.
Remote config can be used to address a wide variety of use cases, such as changing color palette, updating copy or using in as a kill switch to enable and disable features. Imagination is the only limit!! The principles and the steps needed to setup Remote Config are more or less the same regardless of the complexity of the use case.
Of course, in order to be able to take advantage of this feature, some preparation must be done beforehand. The app should be able to fetch this configuration, transform it to the expected structure and act accordingly based on this value.
So, let’s dive in!!
Setup Firebase Console account
First thing first, we have to setup a Firebase project in Firebase Console. Google has done an amazing job both on the documentation and the on-boarding process with a step by step guide and clean instructions. The documentation can be found here and to start a new project just head to the main page, press the Get Started button and follow the steps.
Setup Remote Config
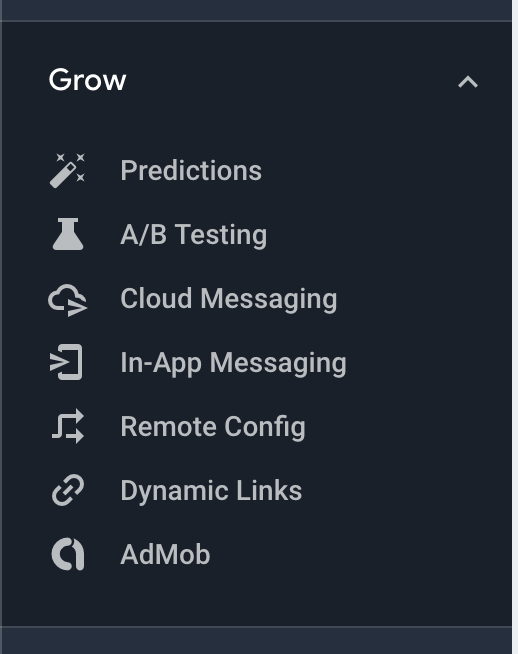
Now that you have Firebase set up, it’s time to move to how to setup Remote Config. On the navigation pane, that appears on the left side of the Firebase Console, expand the option Grow and choose Remote Config.
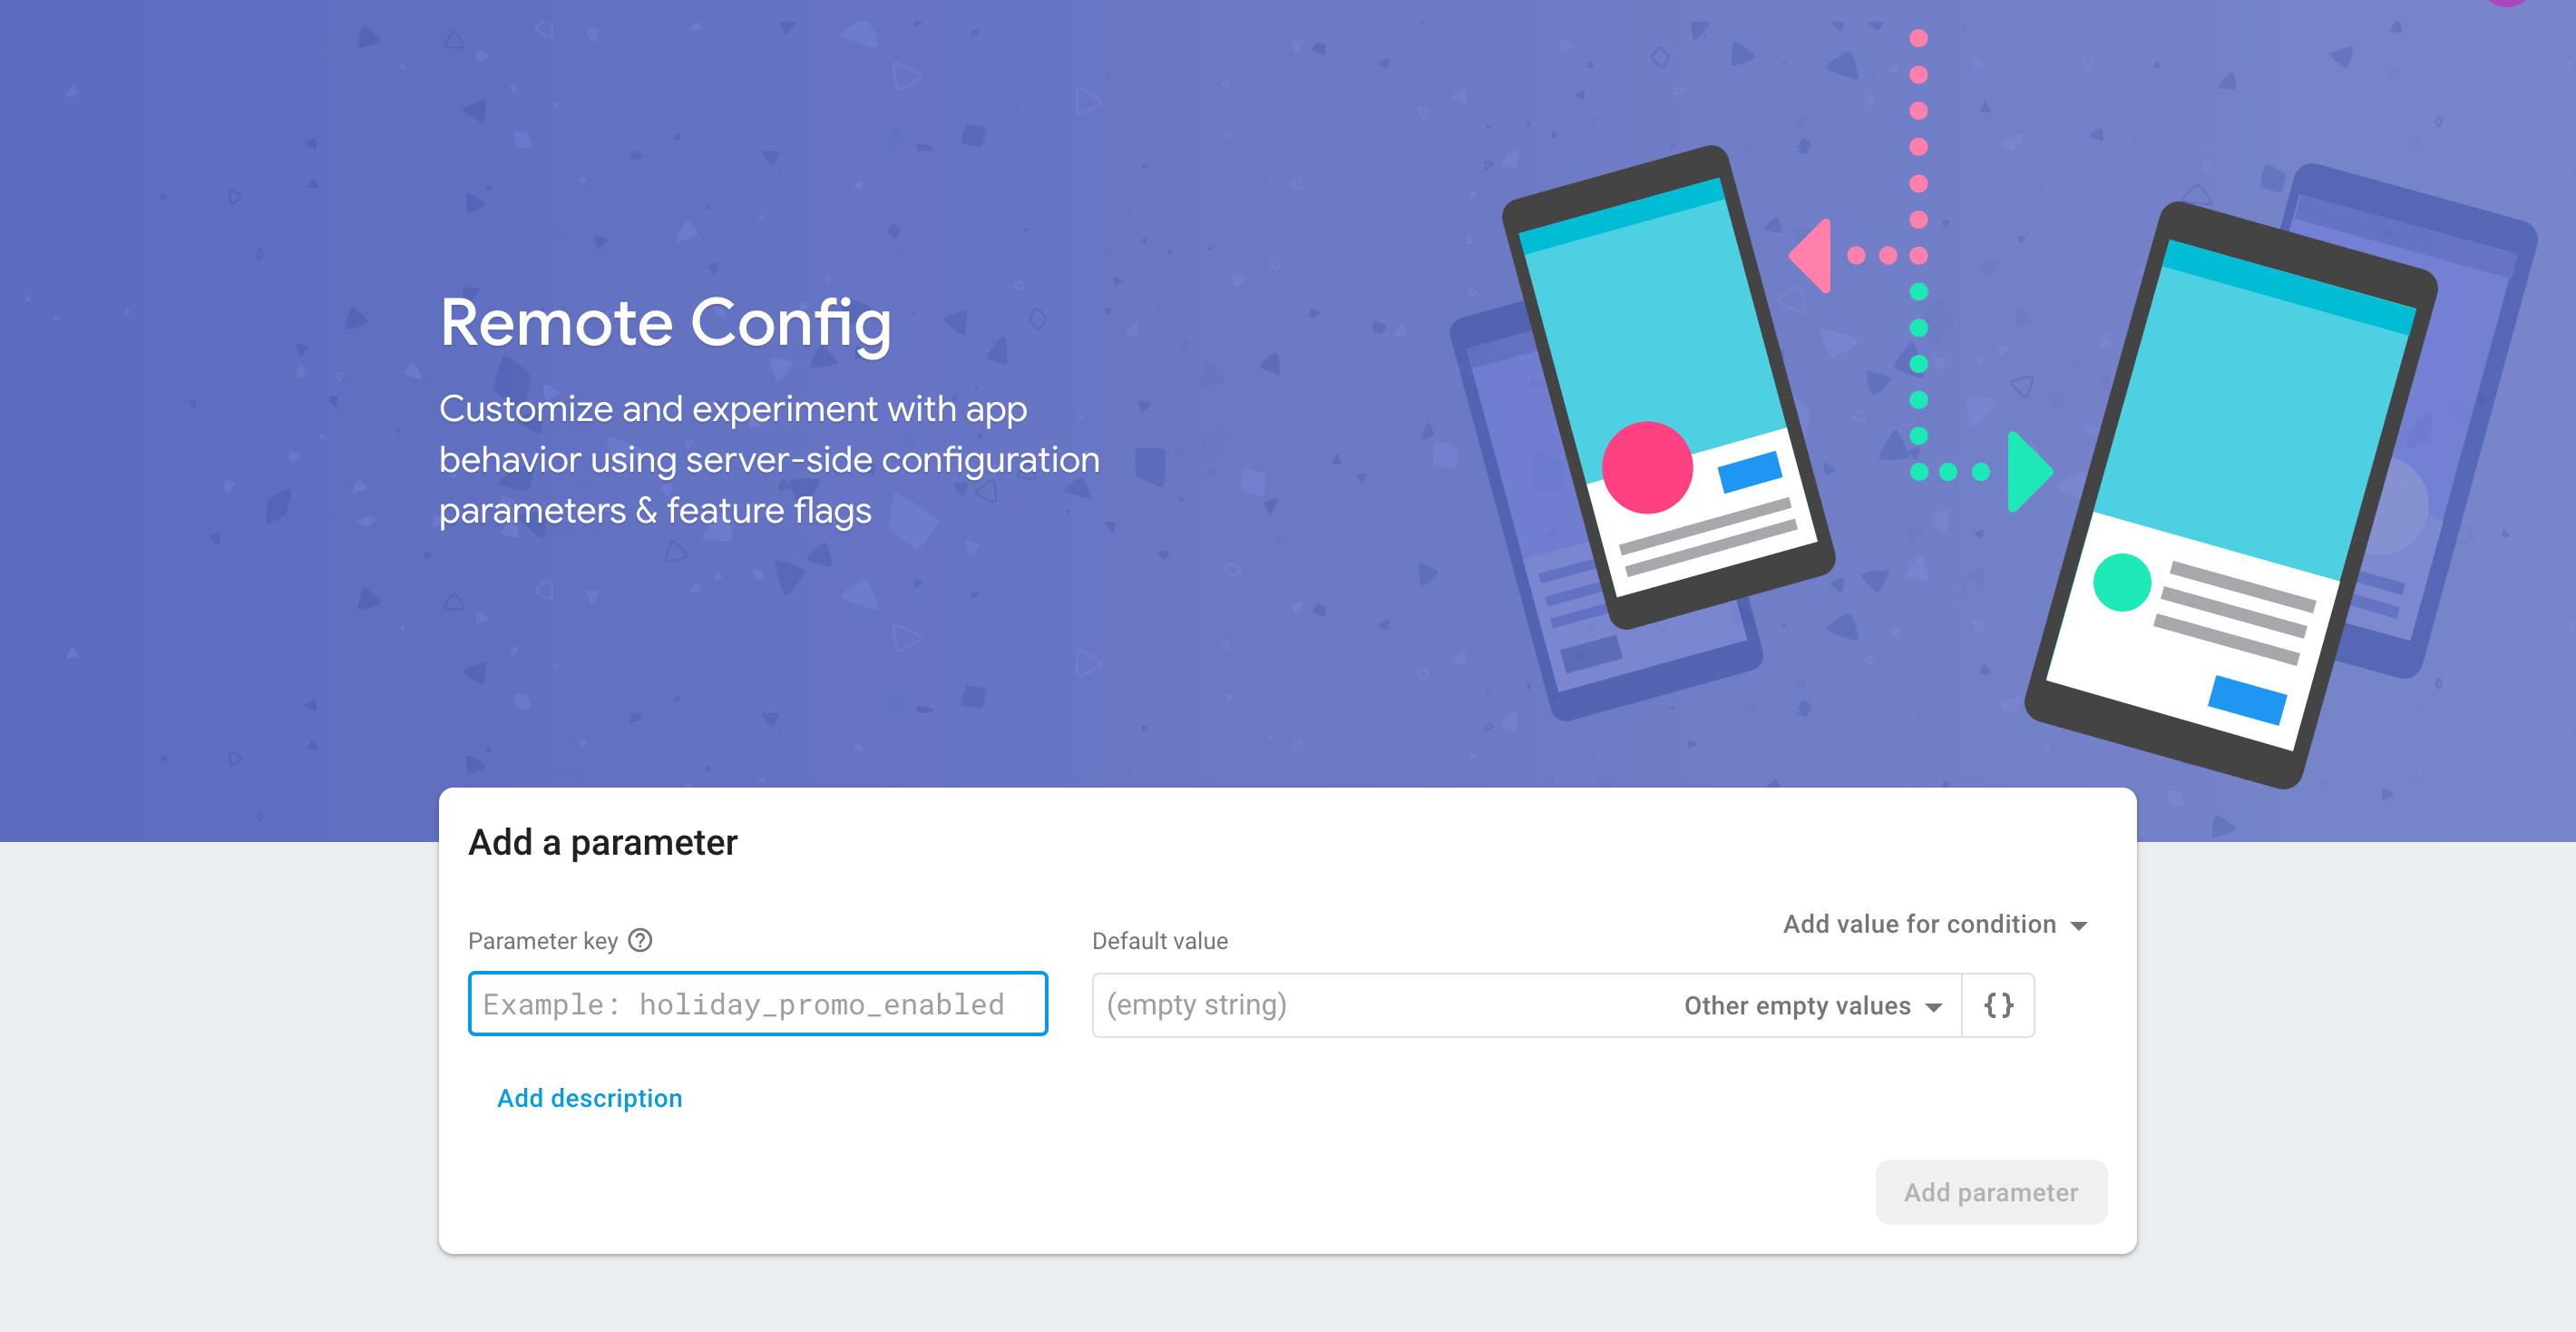
Then, add a parameter key, a description and a value, like in the following screenshot.

Regarding the value, a JSON editor can be used to add a JSON value. To do so, press the button with the two brackets on the right side of the value and the JSON editor will pop up. Now you can enter the value here. In my scenario, I have added a JSON that will contain the values to manipulate a login screen that contains a label and a button.
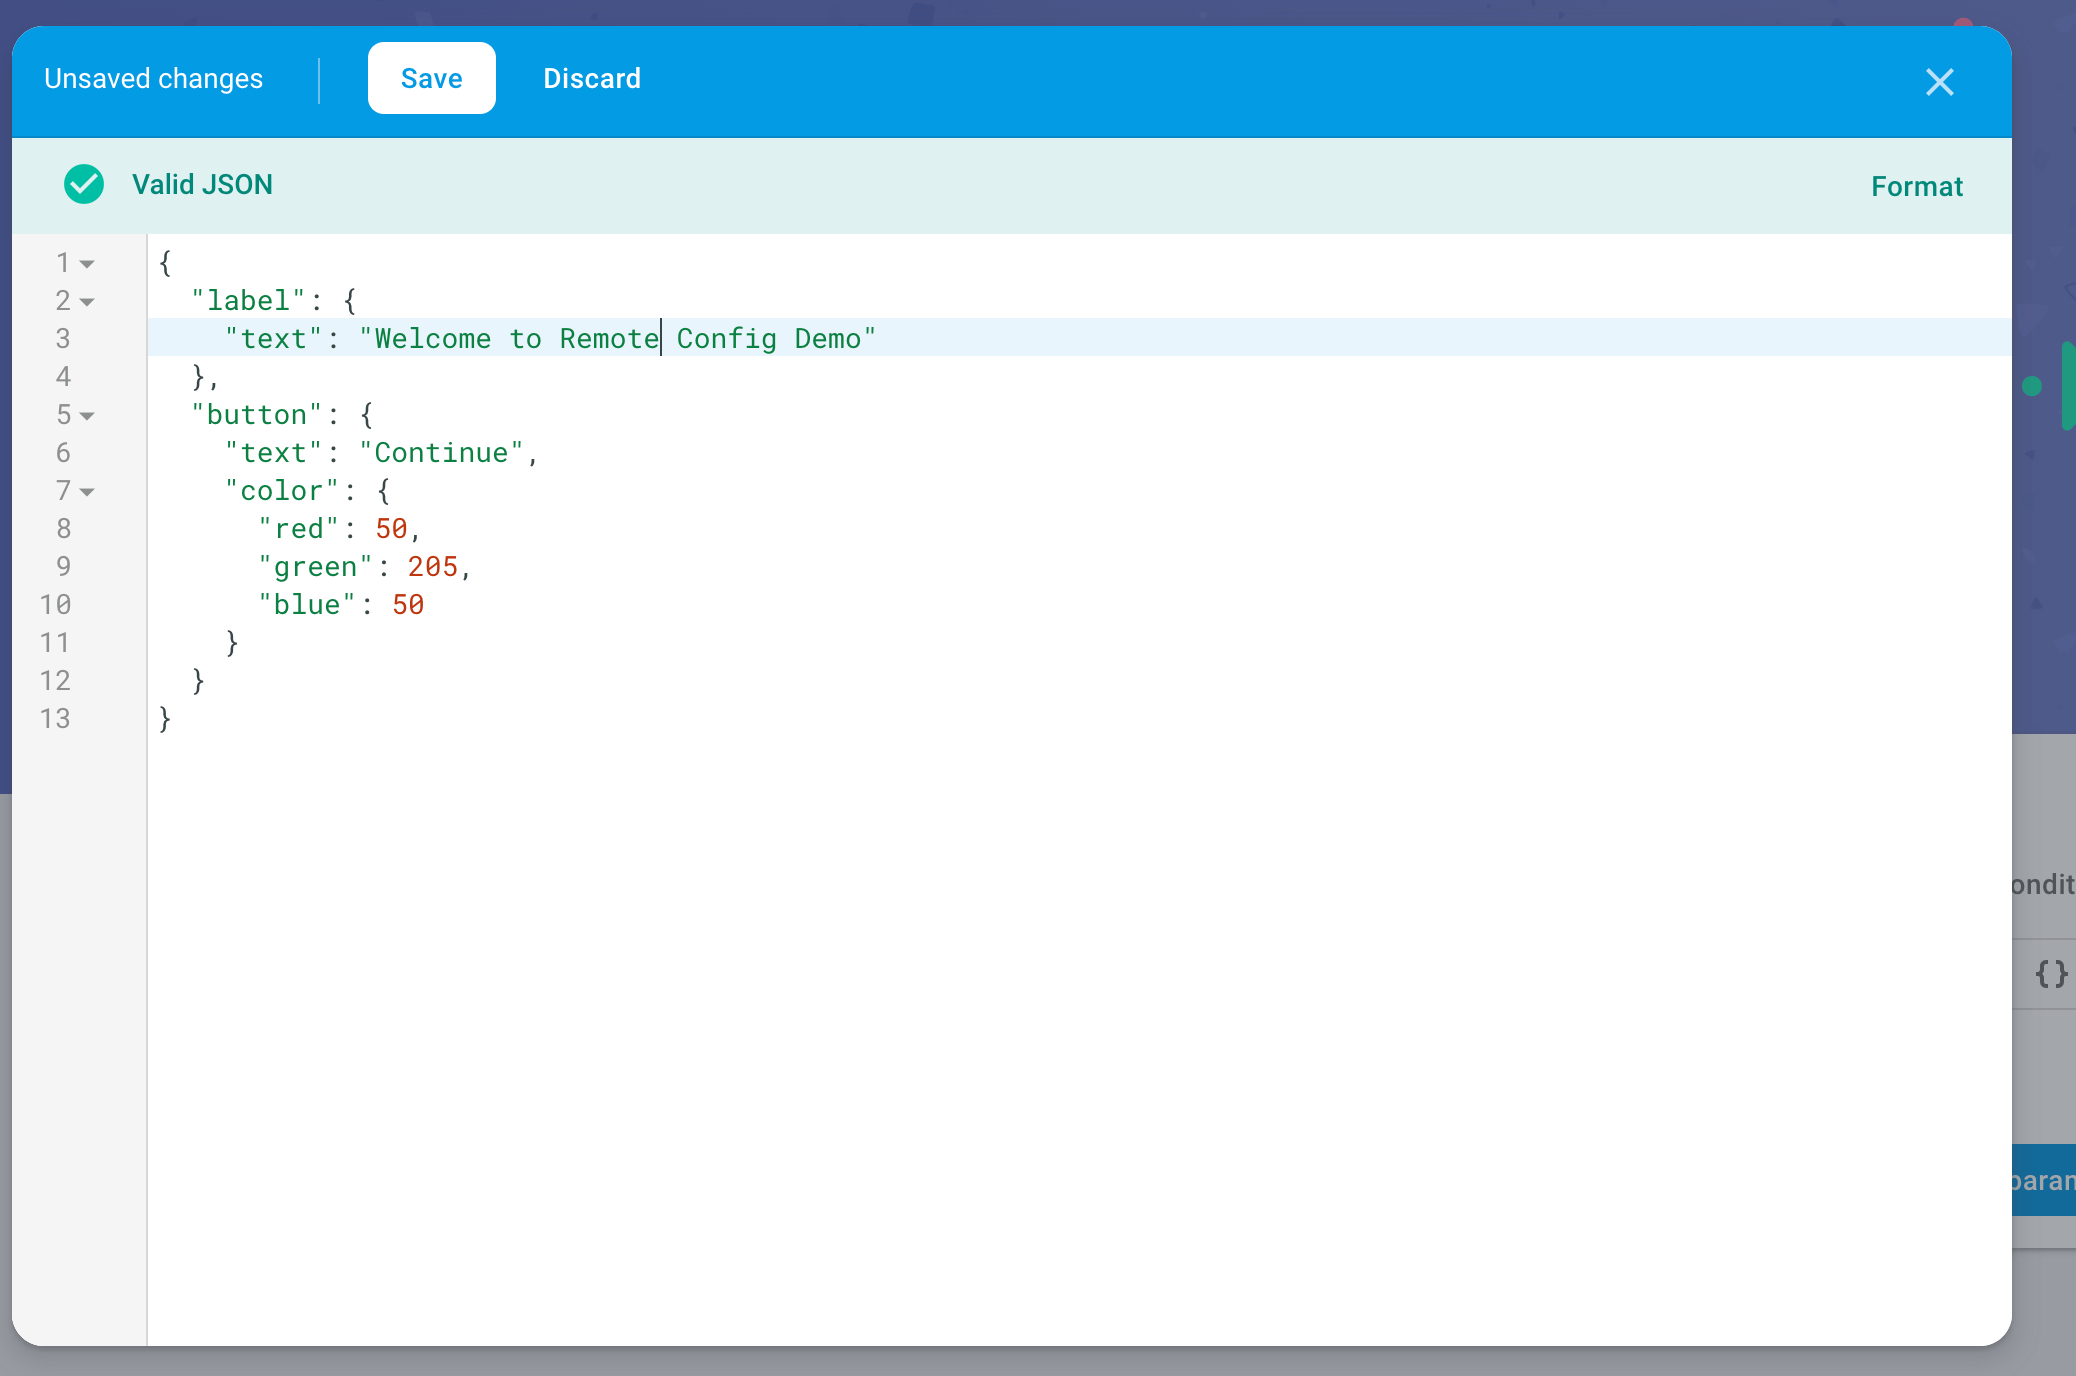
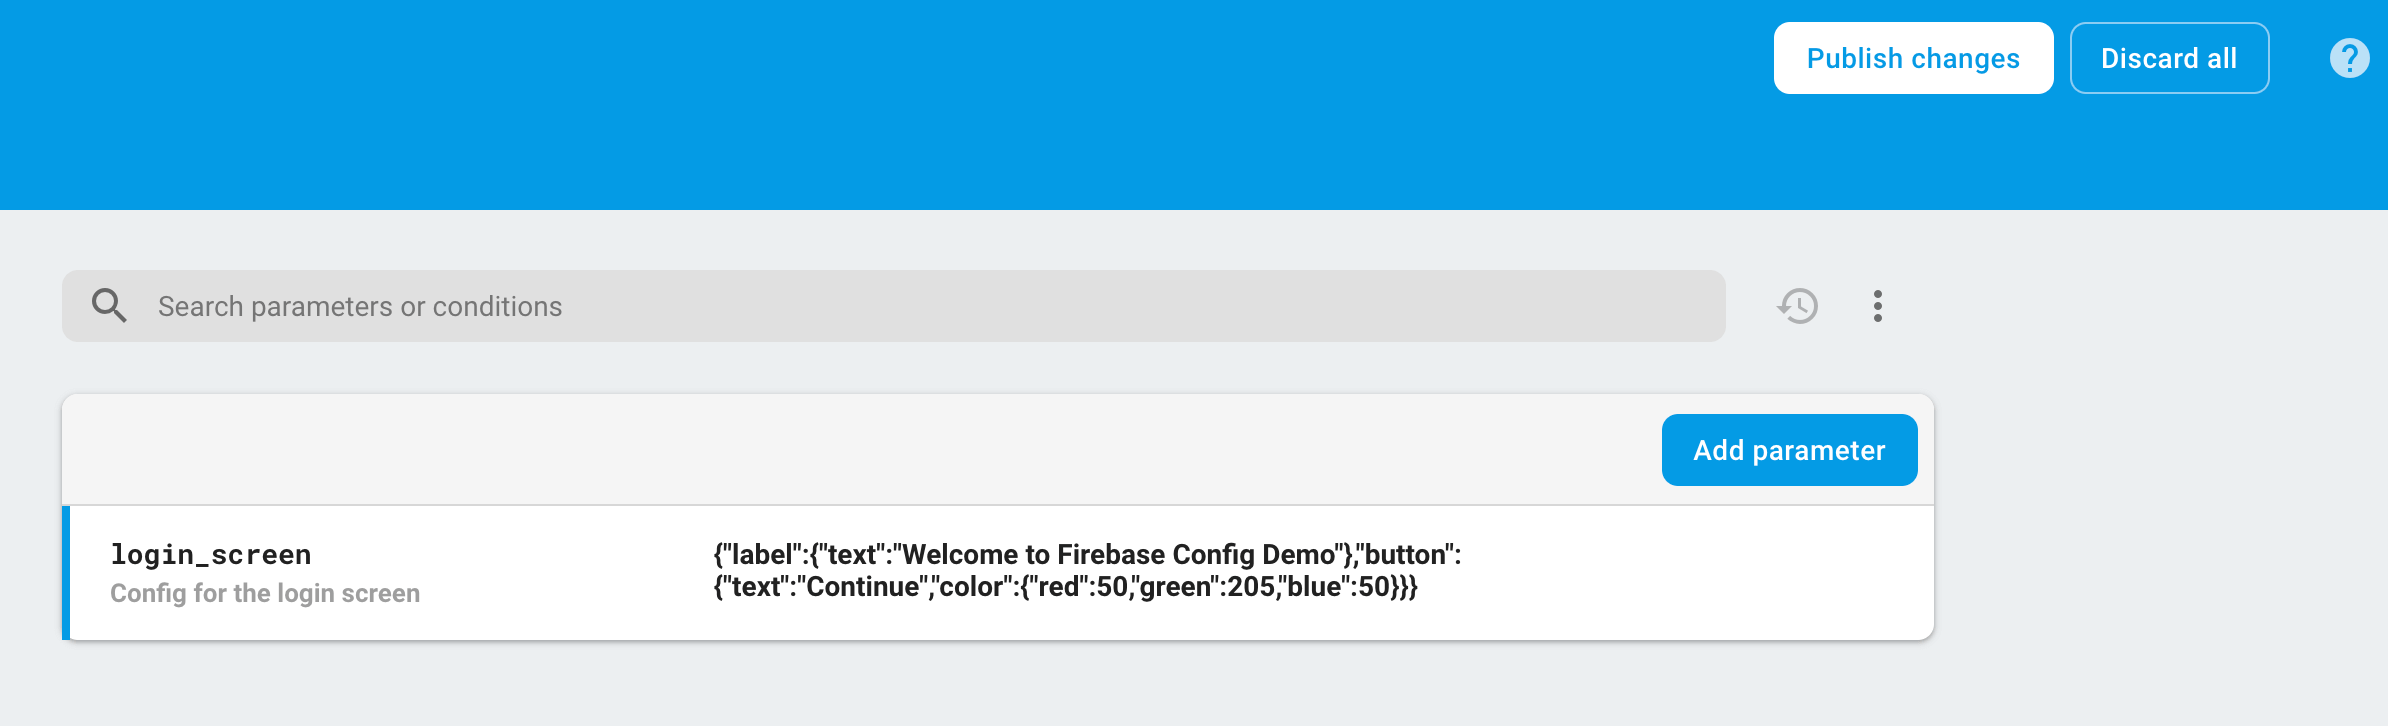
Press Save on the popup of the JSON editor, Update on the bottom right corner and last but not least, press Publish changes on the top right corner of the screen. (that’s usually the step that it’s easy to forget ![]() )
)
That’s it everything you need to do on Firebase Console to setup Remote Config.
Even if Remote Config alone is a nice feature that can be used in a plethora of scenarios, combined with A/B Testing is becoming a powerful weapon.
So, let’s move on to A/B testing!!
A/B Testing
A/B testing is yet another Firebase feature to, well, do A/B testing ![]() .
.
It is still in beta, and it currently supports two possible ways to experiment, either by notification or by applying different Remote Config to segments.
For example, let’s say that we want to experiment with the tone of the message on the login screen and see how it affects the press of the login button. To do so, let’s go back to the Firebase Console.
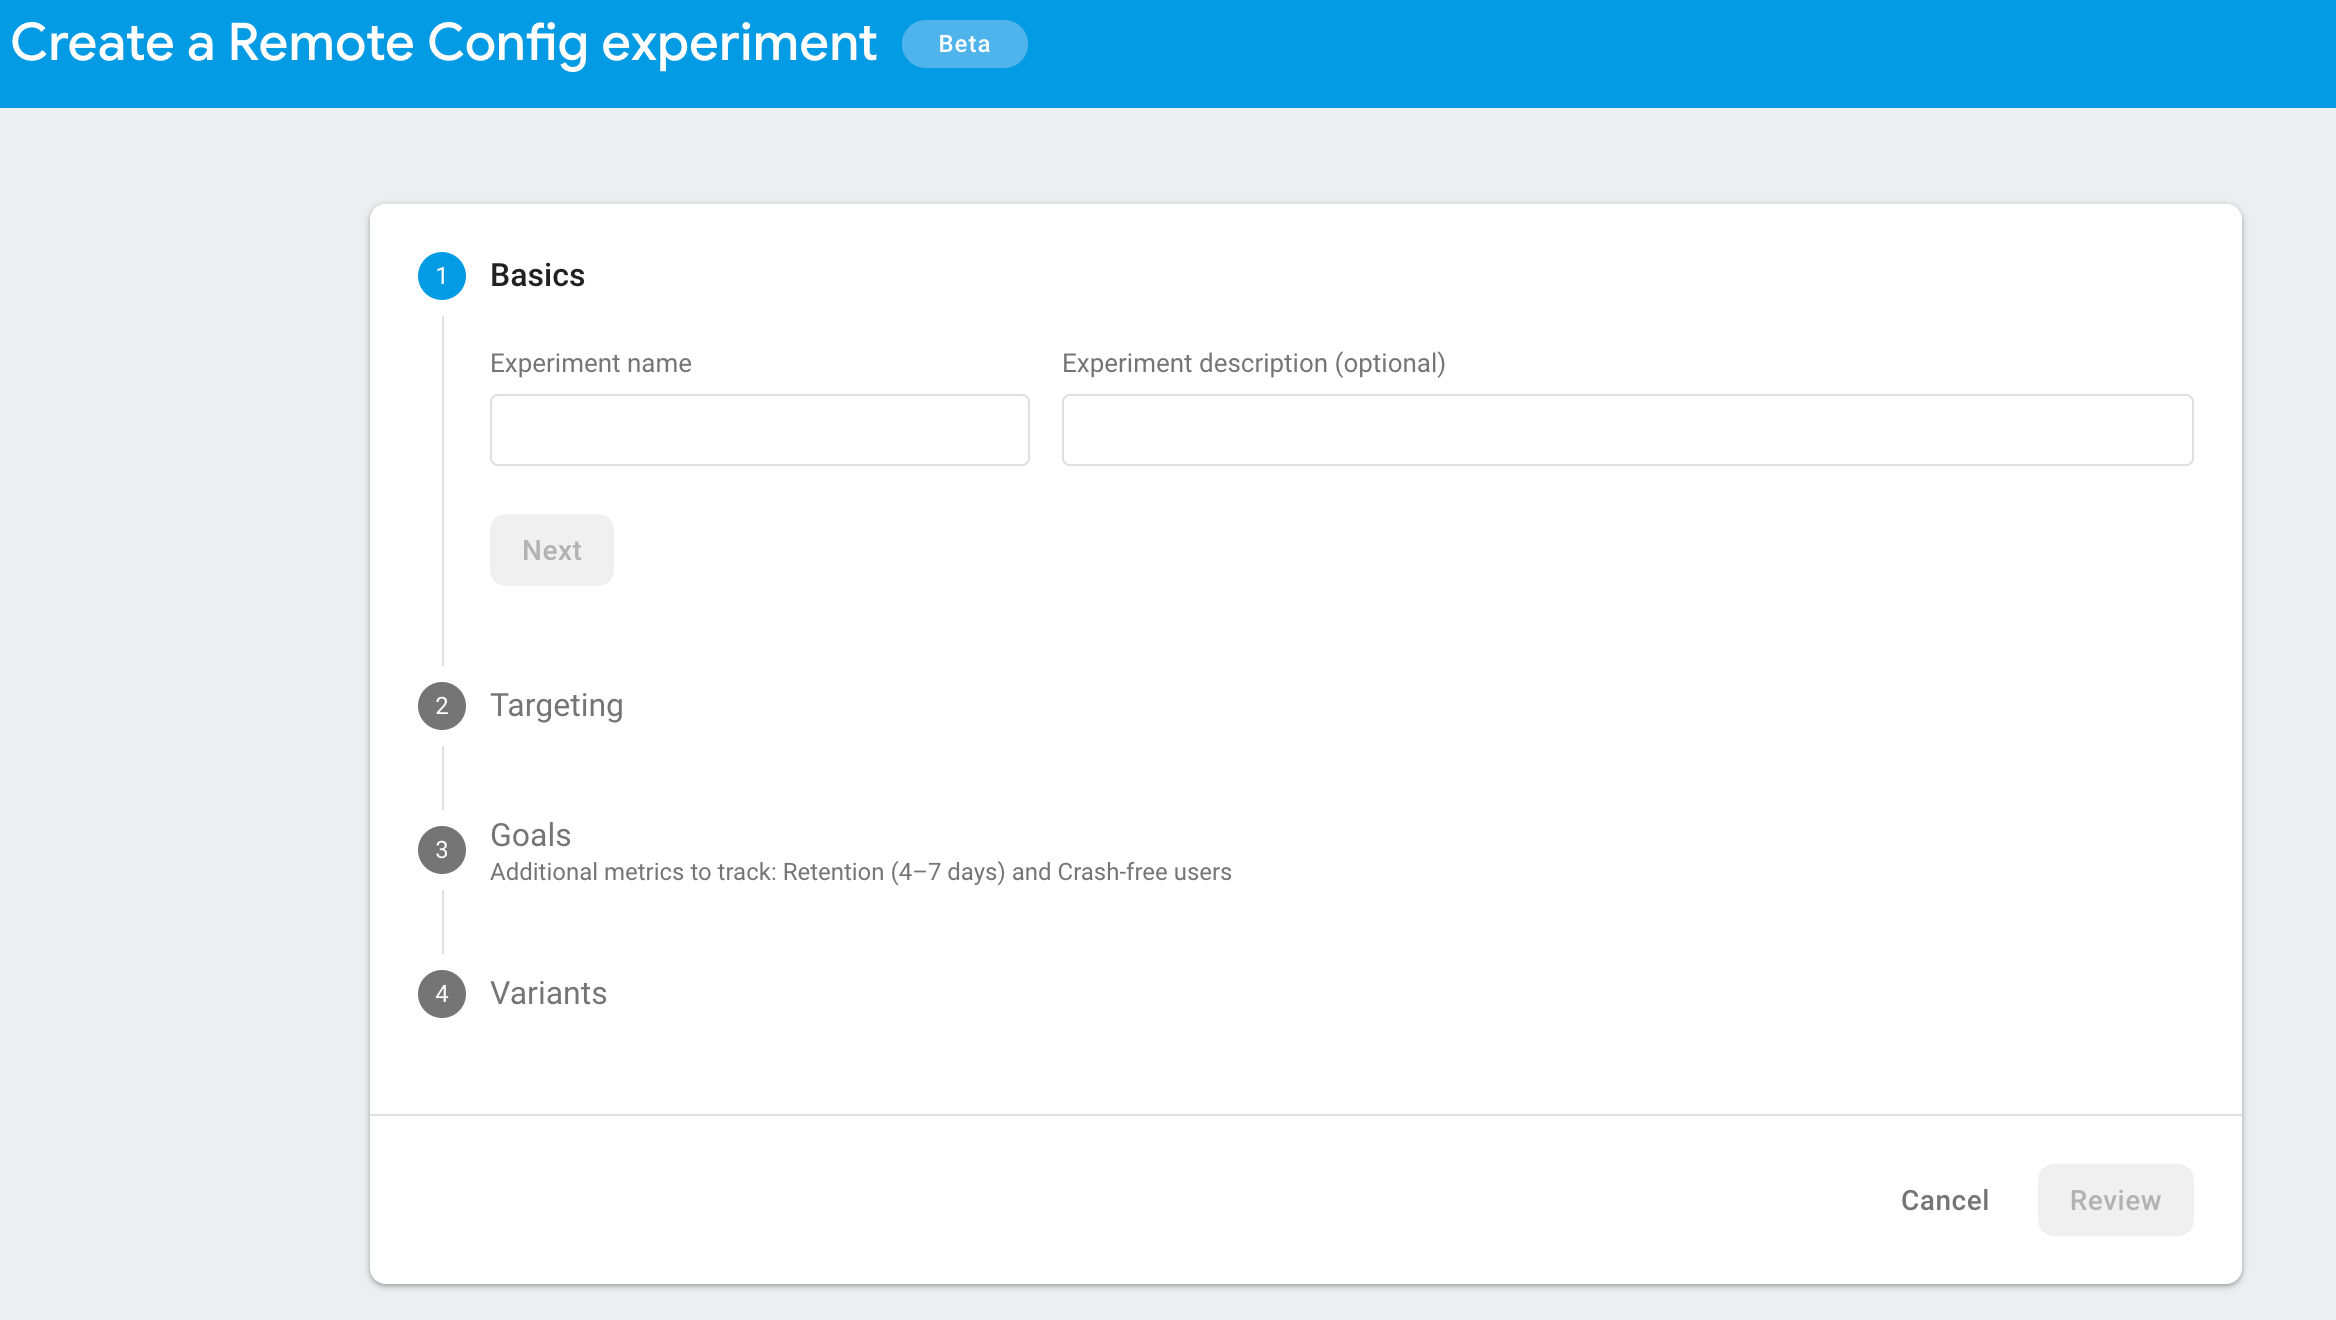
The creation of an experiment is straightforward. Again, go to the left side navigation pane, but this time press the option A/B testing and then the button Create experiment. Then, two options will be presented. Select the Remote Config.

Firstly you set the basic info like the name and the description.
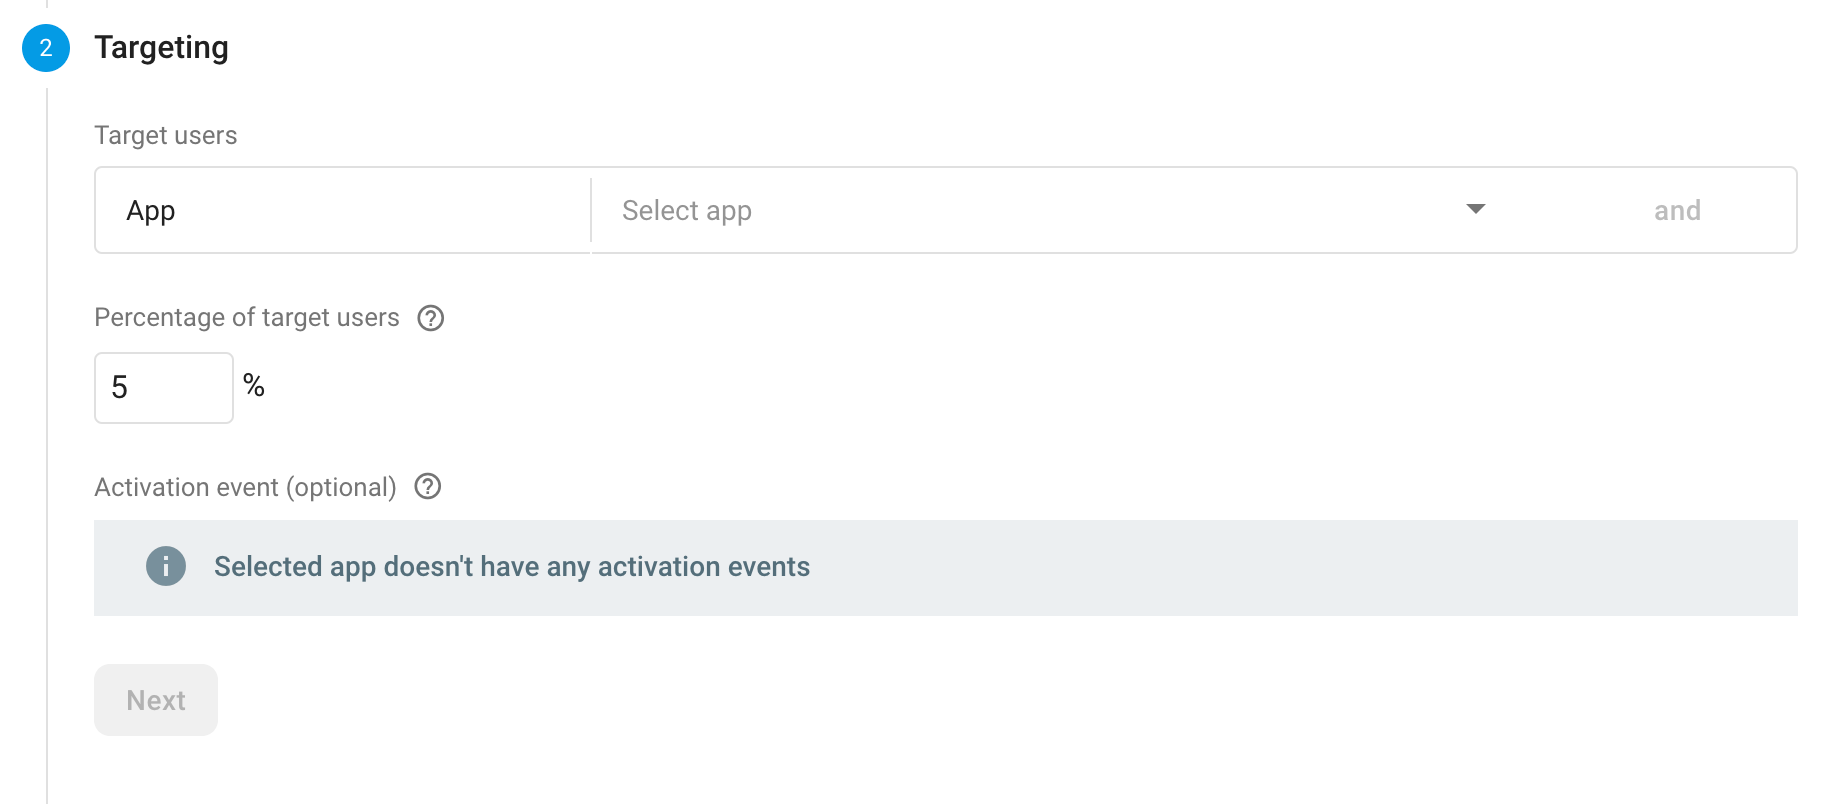
Then, you select the targeting. This can be, for example, only one version of the app, or users with a specific language. There is also the option to choose the percentage out of those, that you want to participate in the experiment.
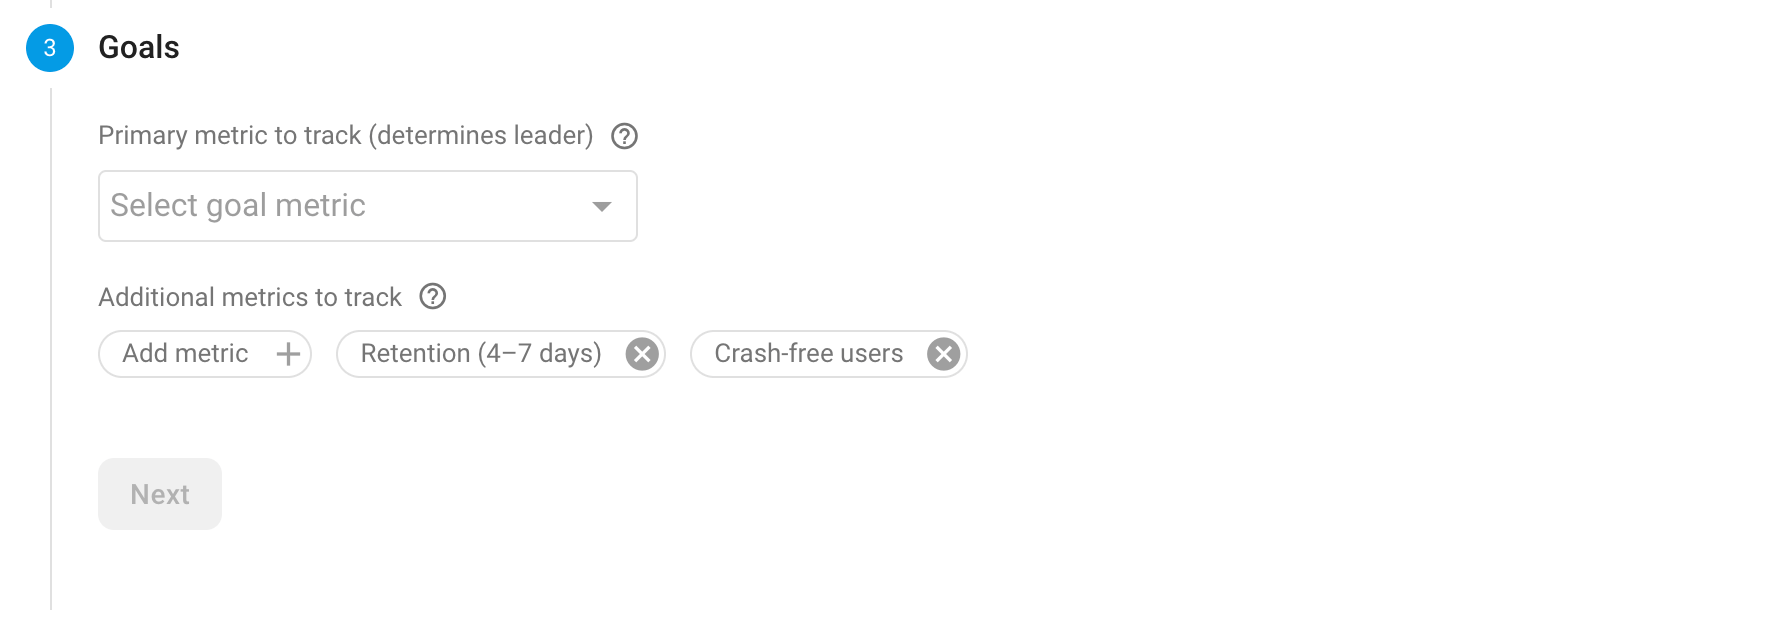
After that, it’s the goals. Here you set the metric with which the different groups are going to get compared. It can be an event, like the press of a button, retention, crash free users, etc etc.
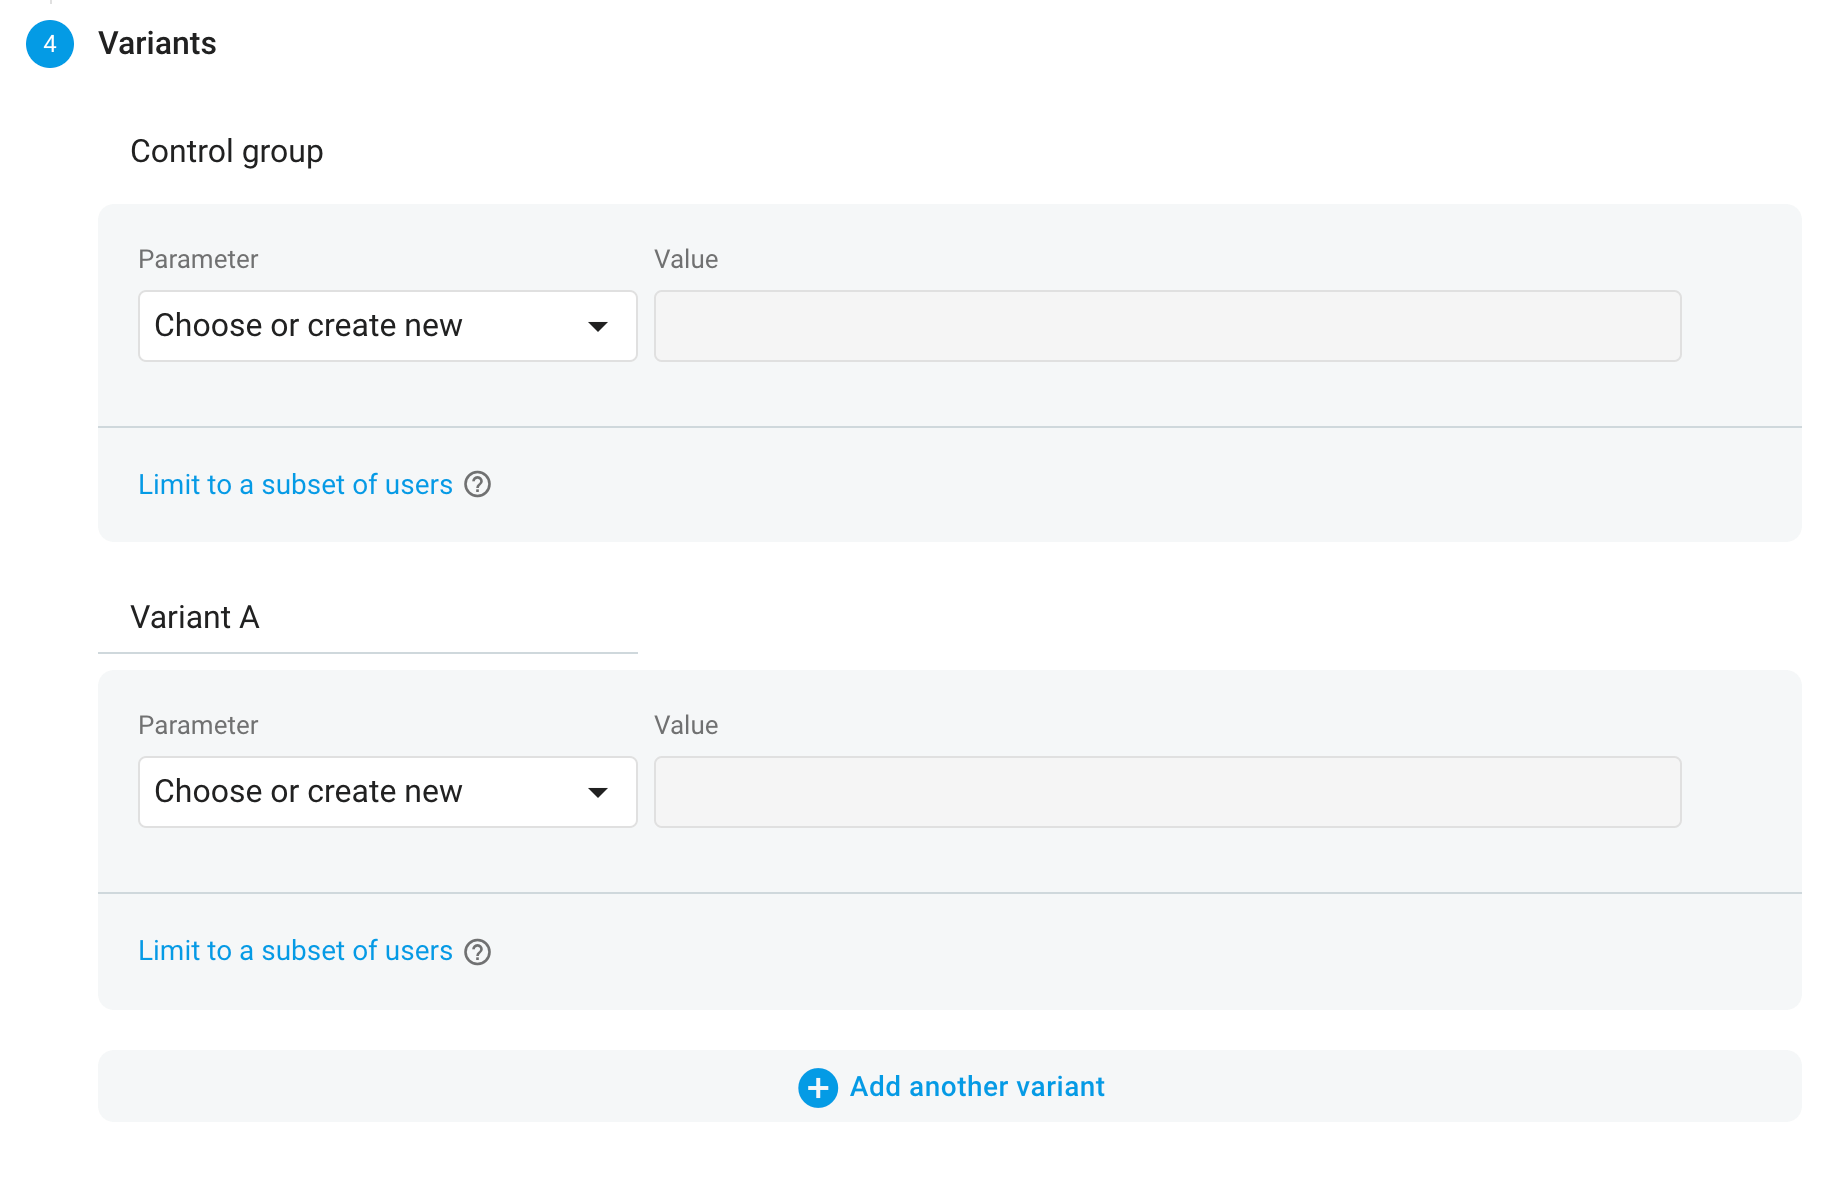
And then, you decide the different variants. Each variant represents a different set of configuration for the user. There is also the possibility to filter each variant to a subset of users by pressing the according button. So in our case, if we want to make an experiment with the tone of the message on the login screen, we will add two variants, besides the control group which will be the default. For example, the first one may be a text with a more direct tone and the other one with a more passive tone.
After pressing the Review button on the bottom right corner, you will redirected to an overview screen and by pressing the Start experiment button, the experiment will start.
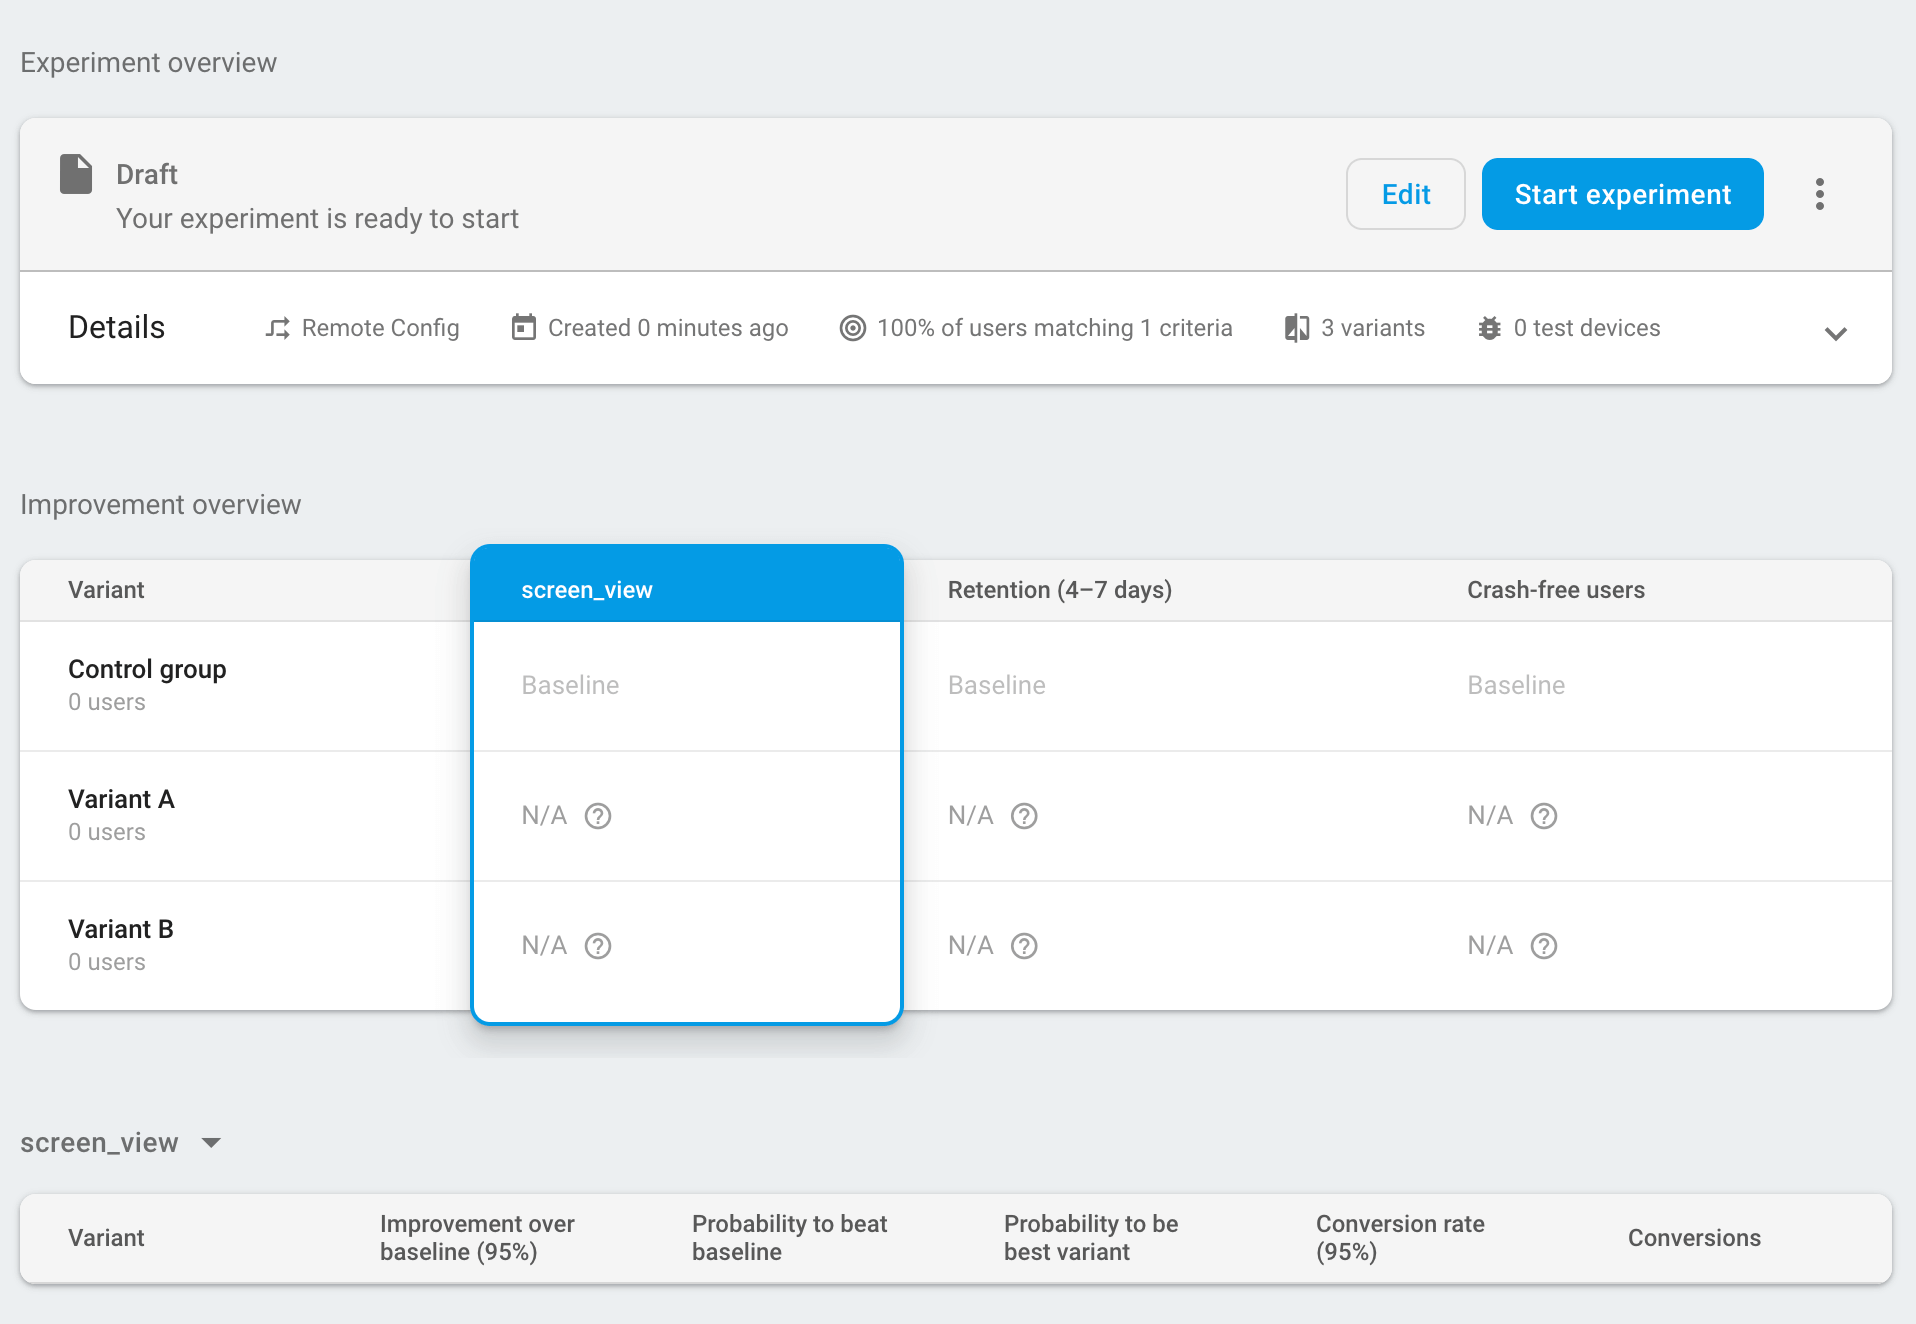
And that’s it!! Nothing else to do!!
Conclusion
As we saw in this post, setting up Firebase A/B testing in conjunction with Remote Config is definitely neither difficult nor a time-consuming process, especially compared to the potential results it may have on user satisfaction, conversion and retention. In the next article of this series, I will delve deeper into the implementation of a demo iOS app that will make use of all the things discussed in this article. Stay tuned!!
Thanks for reading! If you found this post useful, consider buying me a coffee to support the blog. For questions or comments, feel free to reach out on X!
Until next time!
