Continuing my journey on Kotlin Multiplatform Project, this time I will explore some tools that can be used to apply code style conventions on such projects. How many times have you ended up with a bunch of unused import on an Android project or using for example array.count == 0 instead of array.isEmpty on an iOS app?
Linting is here to help you alleviate those scenarios and eventually increase readability of your code base, make it more consistent in case your are working on a team and eliminate the code smells.
For this post, I will make use of the project created on the previous posts related to Kotlin Multiplatform Project, about setting up a project, applying some changes in the default structure and setting up unit tests. This project is also available on GitHub.
Since the project consists of two languages (Swift and Kotlin), we will have to implement different solutions for each of them. Tools like SwiftLint for Swift projects and detekt for Kotlin projects enable us to set some rules that we would like our codebase to follow and let us know in case we break some of them.
Without further ado, let’s move to action starting from the iOS project and setting up SwiftLint.
Swift code styling
A while ago, I have written a post about SwiftLint, so I will not go in depth, but rather focus on installing, configuring and using SwiftLint. I will put a few references on separate GitHub commits for you to follow along.
To install SwiftLint I will use CocoaPods, so before doing so, I will have to install CocoaPods in the project. Let’s add the CocoaPods gem in the Gemfile and run bundle install on the command line (GitHub commit).
After this is done, navigate to the iosApp directory and run bundle exec pod init (GitHub commit).
Then, add pod 'SwiftLint' in your Podfile and run bundle exec pod install(GitHub commit).
After that, open the Fastfile of the iOS project and place the following snippet after the tests lane to add a new lane for linting.
desc "Run linting"
lane :lint do
swiftlint(
  executable: './Pods/SwiftLint/swiftlint',
  mode: :lint,
  config_file: '.swiftlint.yml',
)
end
Create a new file named .swiftlint.yml in the iOS project directory and add the rules based on your needs. An example can be found on my previous article about SwiftLint, on my GitHub project or be simply googling swiftlint.yml example.
Finally, you are ready to run bundle exec fastlane lint to check if there are any linting issues on the project.
Here you can find the GitHub commit with the new lane and the
.swiftlint.ymlfile.
You can also add one more lane on the Fastfile to run the autocorrect functionality of SwiftLint. To do so, add the following snippet on your Fastfile
  desc "Run lint autocorrect"
  lane :lint_autocorrect do
    swiftlint(
      mode: :autocorrect,
      executable: './Pods/SwiftLint/swiftlint',
      config_file: '.swiftlint.yml',
    )
  end
And you will be able to execute this lane by running the command bundle exec fastlane lint_autocorrect on your command line (GitHub commit).
A practice that I follow is to add some kind of threshold so that I am not forced to fix every warning right here and now. This is available through the
warning_threshold: 20key that you can add on your.swiftlint.ymlfile.
Having utilized SwiftLint and successfully ran the commands to lint and correct any issues, with the help of fastlane, on the Swift part of the codebase, it’s time to move on to the Kotlin part of our project.
Kotlin code styling
For the Kotlin part of the project, I am going to use detekt, which is a static analysis tool for Kotlin.
To install detekt on our project, first add the following snippet on your build.gradle:
plugins {
    id "io.gitlab.arturbosch.detekt" version "1.0.0"
}
Then we can proceed with the configuration of detekt and the rules. Since we may have to use some other tools on our project, let’s create a separate directory for the configuration of all these tools, named tools. Inside this folder, create two new files, tools/detekt.gradle and tools/detekt.yml. The first contains the configuration for detekt, whilst the second contains the rules that we want to apply to the project.
Put the following snippet on tools/detekt.gradle:
apply plugin: "io.gitlab.arturbosch.detekt"

detekt {
    toolVersion = "1.0.0"
    input = files("src")
    filters = ".*/resources/.*,.*/build/.*"
    config = files(file("$project.rootDir/tools/detekt.yml"))
}
and the following snippet on tools/detekt.yml:
autoCorrect: true

build:
  warningThreshold: 5
  failThreshold: 10
  weights:
    complexity: 2
    formatting: 0
    LongParameterList: 1
    comments: 0.5

style:
  active: true
  WildcardImport:
    active: true
  MaxLineLength:
    active: true
    maxLineLength: 120
    excludePackageStatements: true
    excludeImportStatements: true
    excludeCommentStatements: true
For more info and options about the possible rules, you can refer to the default detekt config or the official documentation.
Now we can move to our project and apply detekt. Firstly, let’s navigate to the androidApp, open build.gradle and add the following lines:
apply from: '../tools/detekt.gradle'
check.dependsOn 'detekt'
Then, do the same on the shared/build.gradle.
Here you can find the GitHub commit with all the changes done to add and configure detekt.
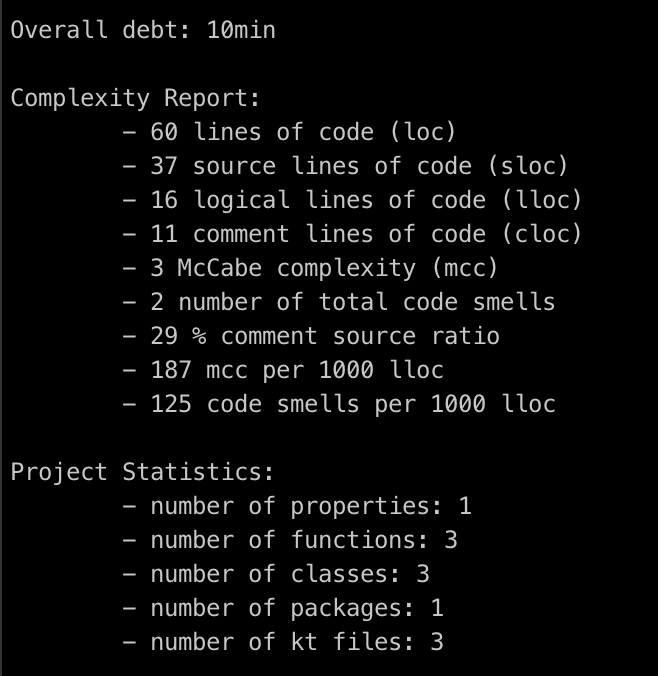
And that’s it. Now you can run ./gradlew clean shared:detekt and ./gradlew clean androidApp:detekt. The expected result will be a report of all the issues detected by detekt available on the command line. The report is also generated in html, txt and xml format.
Furthermore, by making the check gradle task to depend on the detekt task, we can also run ./gradlew clean androidApp:check and ./gradlew clean shared:check which will execute both the linting and the unit tests.
Wrap up
We now have our tools for code styling up and running for both the Swift and the Kotlin part of the project!!
To sum up, complying to some code style rules and conventions can be great for a project. Having a tool(or more than one) to do this job is even greater. It will save you from consuming mental power, time and energy to check and apply those rules.
In this post, we have seen how to install, configure and use those tools. I opt to not delve deeper to the rules themselves since I think, according to my experience so far, that this is something totally subjective to each person and team and there should be some thorough thought process before deciding which rules to enable and which not. Contrary, I have focused on how to setup those tools and enable some sample rules so that it is easy for someone to build on top of this implementation.
A potential next step is to configure some Continuous integration solution to take care of all these commands (and the unit tests as well) every time we check in some code, which is probably something I will cover in one of my next posts.
Thanks for reading! If you found this post useful, consider buying me a coffee to support the blog. For questions or comments, feel free to reach out on X!
Until next time!
